
|
The latest phase of my (almost) free kitchen update isn't super glamorous, but it's very exciting: a pivotal stage in the transformation of my 1940's kitchen. If you're not caught up on what's happened so far, you can read all about it:
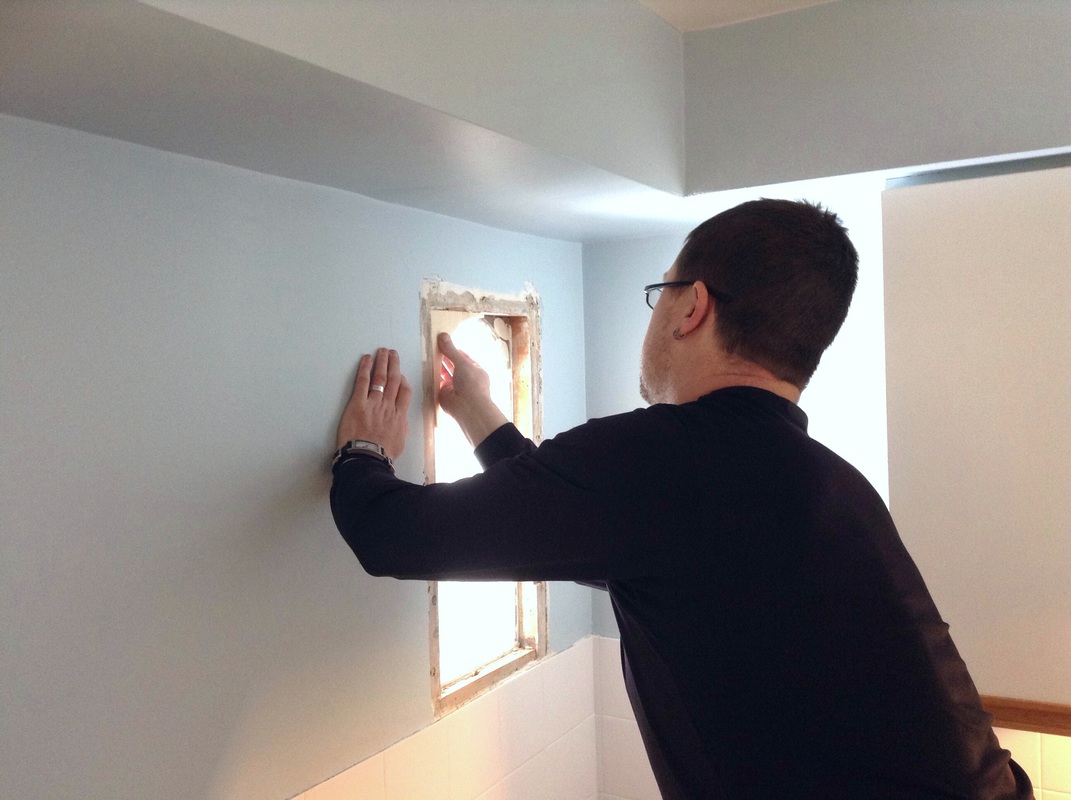
With the window set in its nice new frame, we had to decide how to finish it off. We talked about different trim configurations, but in the end, I figured it would look best with no trim at all. The wall space around the window is pretty insubstantial, and with the shelving I plan to add to the space, I think window trim would have looked way too busy. Now my dilemma was how to even out everything around the window: lots of seams and gaps, and about a 1/4" depth discrepancy between the wood studs and the existing plaster. I wanted the lines of that arched window to be perfectly smooth - like arched windows set into the stucco walls of an Italian villa. So I did some research, and I entered a new world: drywall accessories, and more specifically drywall corner beads. Why they're called beads, I have no idea: you certainly can't wear them, not easily anyway. But they're very useful. The pros use them to shield and strengthen internal and external corners between sheets of drywall. And to my delight, I found a sturdy vinyl corner bead that could arch!
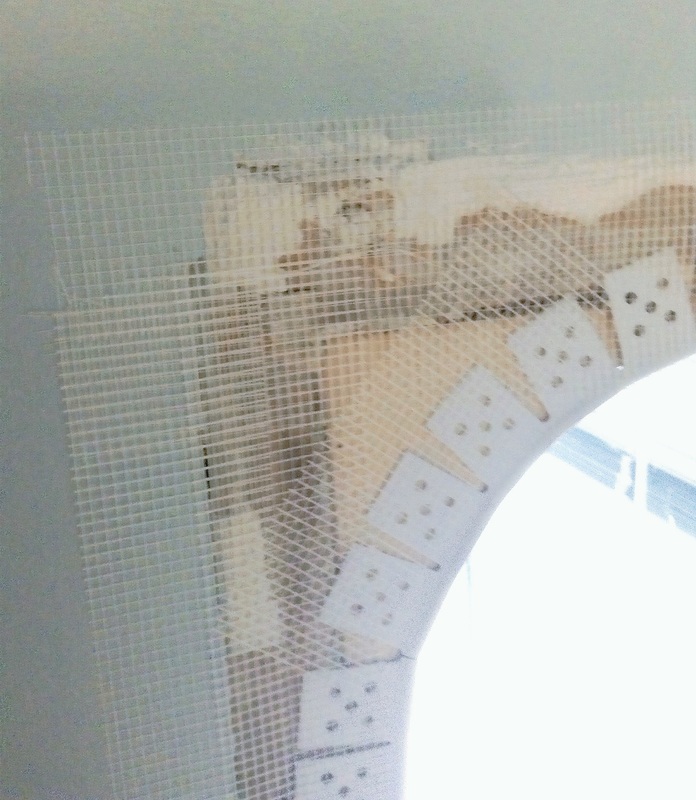
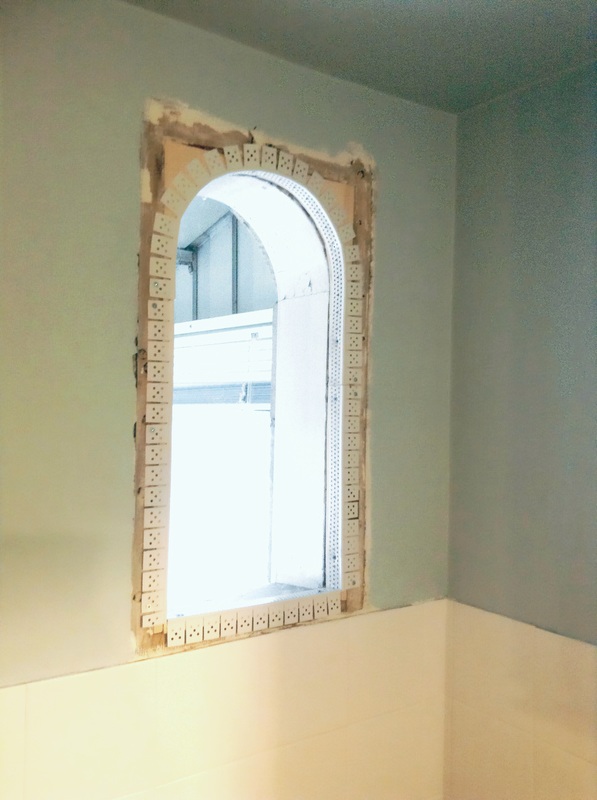 My other splurge for this project was some self-adhesive wall repair tape. I wouldn't have been able to finish off the window without some sort of wall repair product. I had some really old and rather disgusting-looking wall repair tape in the basement, likely left over from the renovation 20+ years ago. But I opted to work with something a little easier and more trustworthy. (I guess I should probably just toss out that old roll of repair tape . . . or use it in some art work. Yeah, maybe I'll do that.) After affixing the repair tape to thoroughly cover all seams and imperfections, I patched over the whole lot with the compound I bought a couple months ago (in Phase 1).
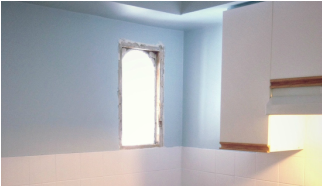
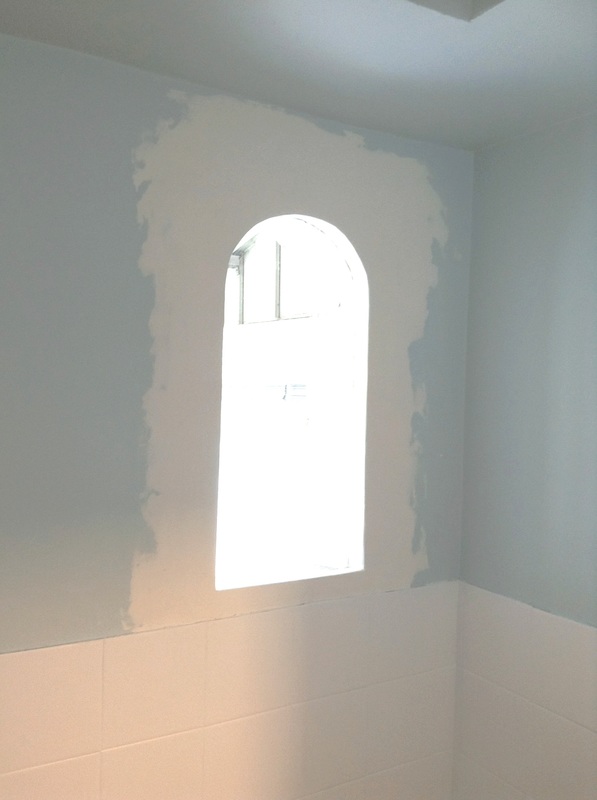
Again, sorry about the lousy photos. I used my iPad mini camera because I was too lazy to take out my good camera. After a couple coats of compound - each followed by thorough sanding - I painted the wall and the inside edge around the window. And I'm a happy girl. It looks great. 
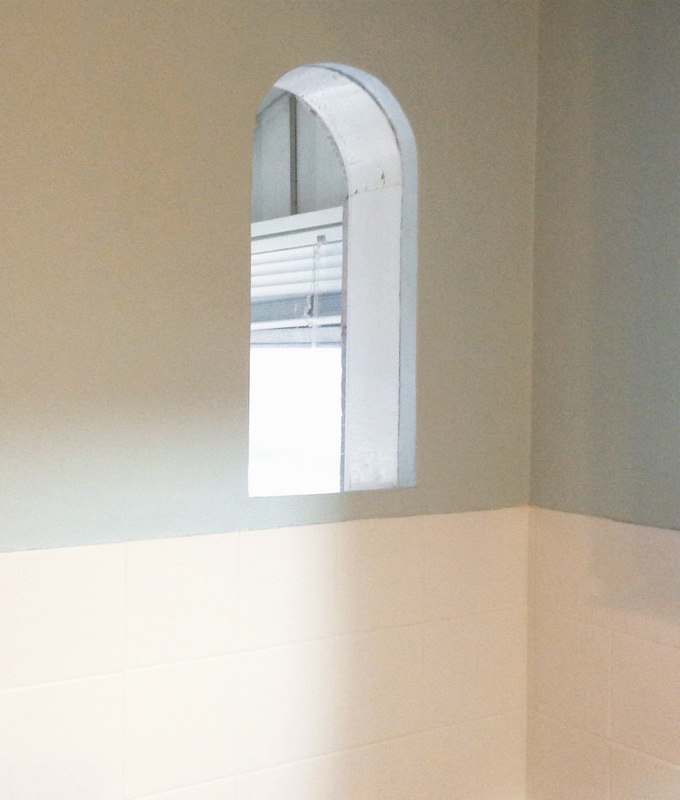
I'm so glad the window is done. It took a lot of brain work, and wasn't as fun as building a shelf, but the results are so wonderful. Here's a little visual play-by-play of the whole process, just to put a big exclamation mark on this whole process! (Stay tuned for Phase 5: new shelves!) 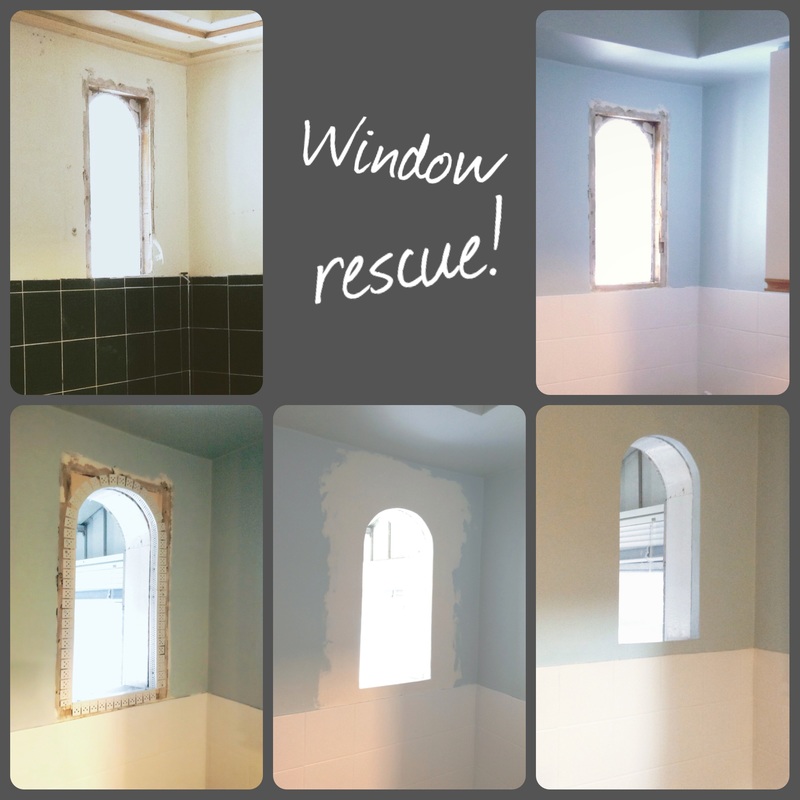
0 Comments
Leave a Reply. |
Jane Hogeterp Koopman

Subscribe to Jane's Blog by RSS or email:
Categories
All
Archives
January 2018
Stuff I love:
|

 RSS Feed
Proudly powered by Weebly