
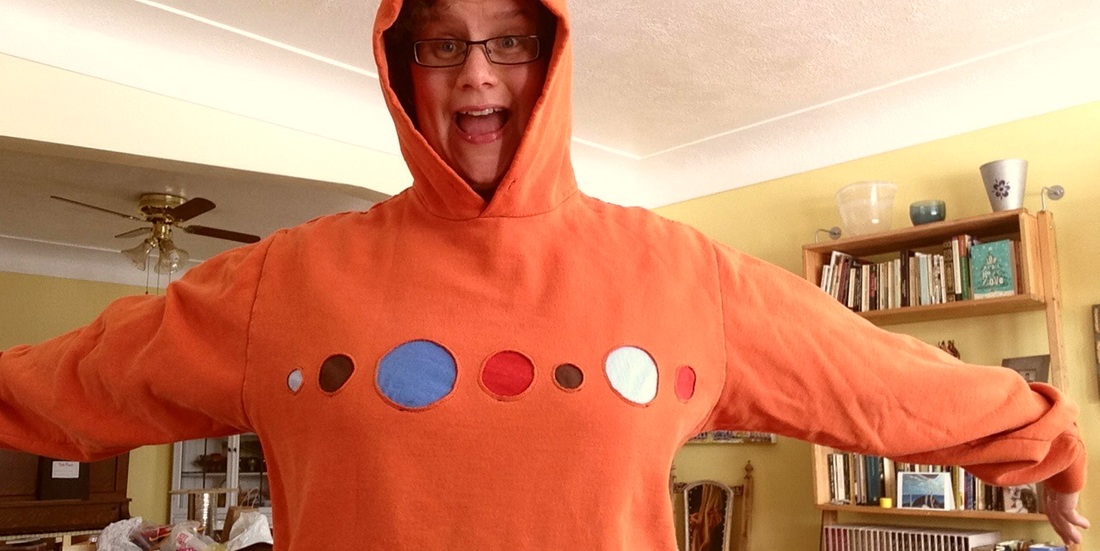
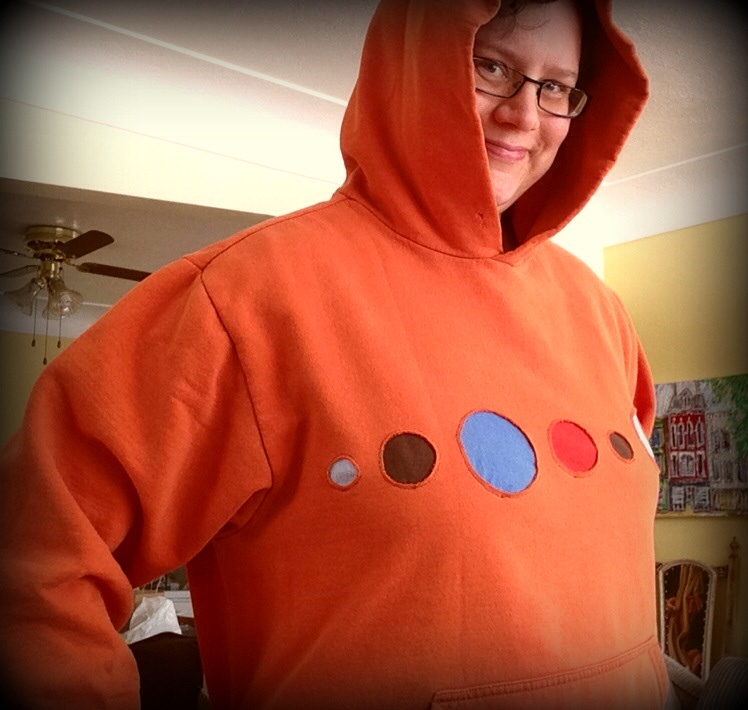
  I am very attached to this orange sweatshirt. There's no reason for it: it's old, the drawstring for the hood has long disappeared, and orange looks terrible on me. But it's cozy and lumpy and soft and warm, and I love it. So when I got a stain on it a few months ago, I was dismayed. I've had it in my mind more and more that I'd like to upcycle my clothes that are worn, stained or ill-fitting. This seems to me a responsible way to manage my wardrobe: it would save me money and allow me to save beloved pieces. It would also prevent my clothes from becoming part of the pile of second hand store discards that get shipped overseas by the pound. (Millions of pounds of bulk second hand clothes get shipped from western nations to developing nations. There are mixed opinions about how these shipments impact local economies.) The only problem with my upcycling ambitions is that my sewing skills are, well, scarce. I have lots of ideas, but I'm not sure I have the skills to execute them. Serendipitously for me, some inspired young women in my church decided to start Sewing New Hope: a community sewing circle. Since January, we've hauled out our sewing machines every Thursday night and done some sewing between sips of coffee and intervals of conversation. Among this lovely group are some ladies with mad sewing skills, and they willingly help the rest of us who don't always know what we're doing. Each week has a project or sewing skill to focus on if we want, but we can also work on our own projects. This is my opportunity to bring some of my upcycling ideas to life, and I figured I'd start with my beloved orange sweatshirt. Here's what I did. Okay, so you can't really see the stain very well in this photo, but trust me, there's a stain. In the next photo, you'll see what the weird circles are. 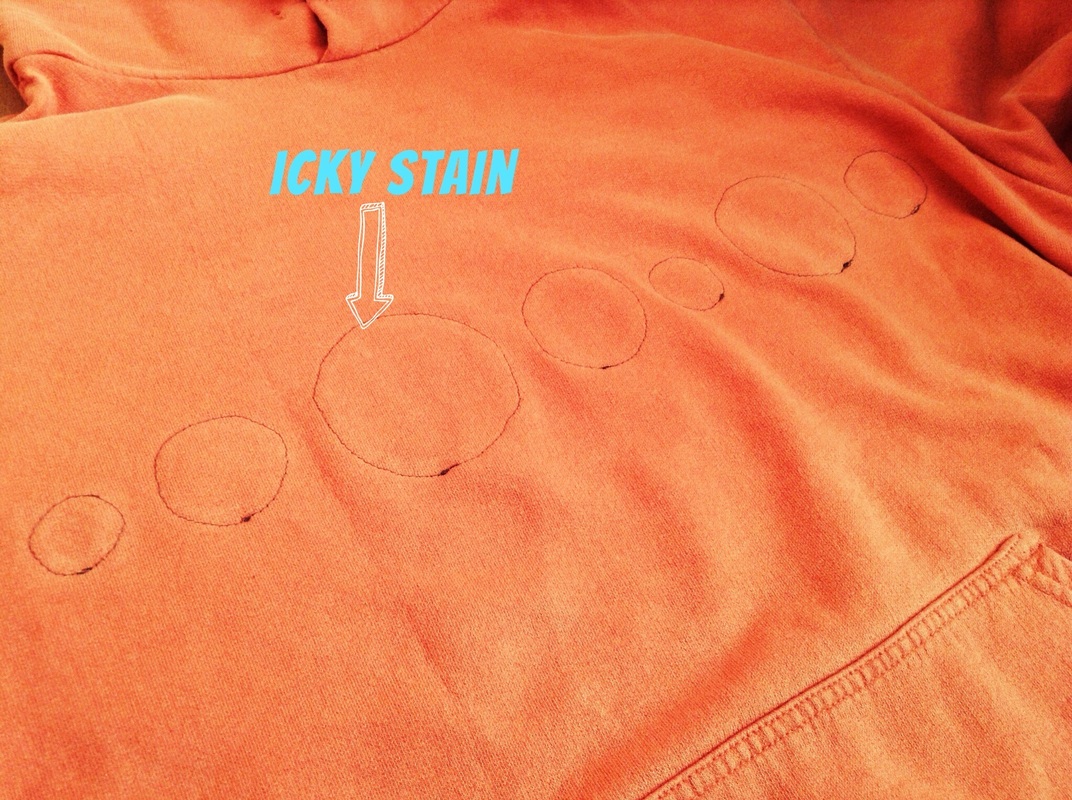 I cut circles out of some cotton t-shirt scraps in brown, light blue, medium blue and burnt orange. With safety pins, I pinned the circles onto the back of my sweatshirt because I wanted to create reverse patches (that's what I'm calling them, anyway). Following the advice of one of my smart sewing circle friends, I hand-basted the circles onto the shirt so that I wouldn't have to deal with pins while working with the sewing machine. For those of you who are sewing newbs like me, basting is loosely stitching something in place. It is also, of course, what you do when you cook a turkey.  And another tip for those with limited sewing experience: sewing circles with a sewing machine is not as simple as it might seem. Maybe modern machines can be programmed to sew curves - I have no idea - but my old-school Singer sews straight lines. This means I had to use a very light touch with the foot pedal and lift the sewing machine's presser foot every few stitches so that I could turn the fabric. I used brown thread to stitch all the circles. 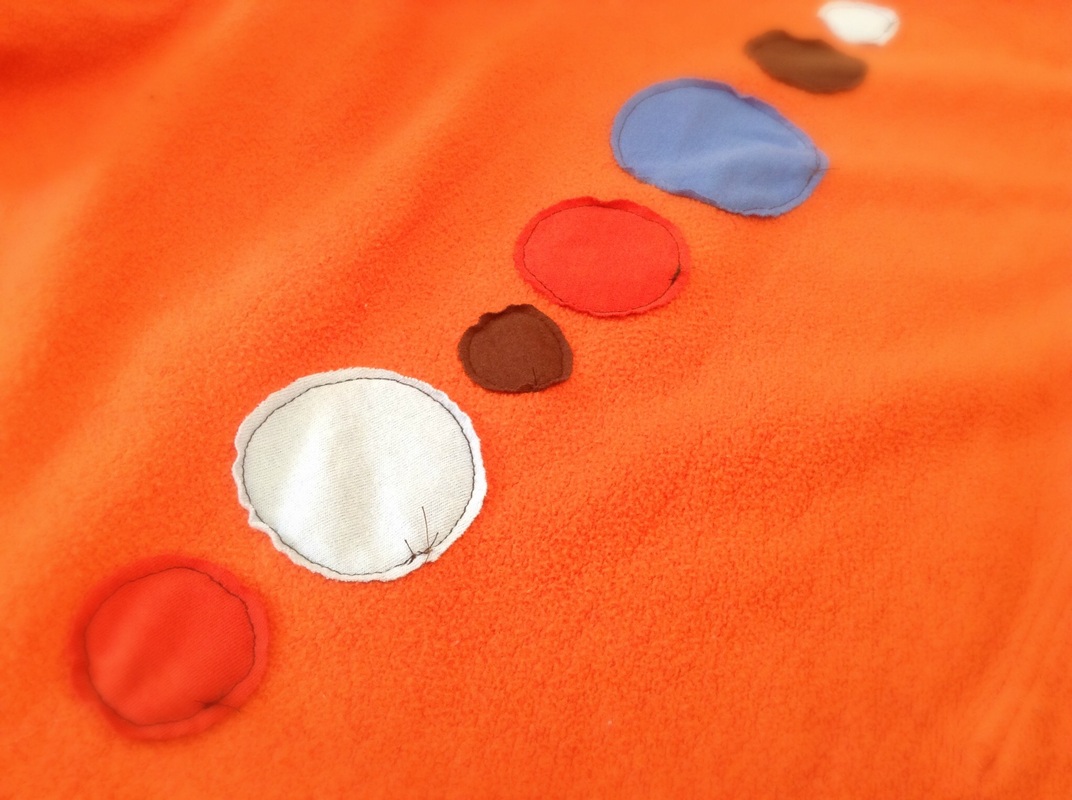 Here's what my sweatshirt looked like after I sewed the circles onto the back and turned it right side out. 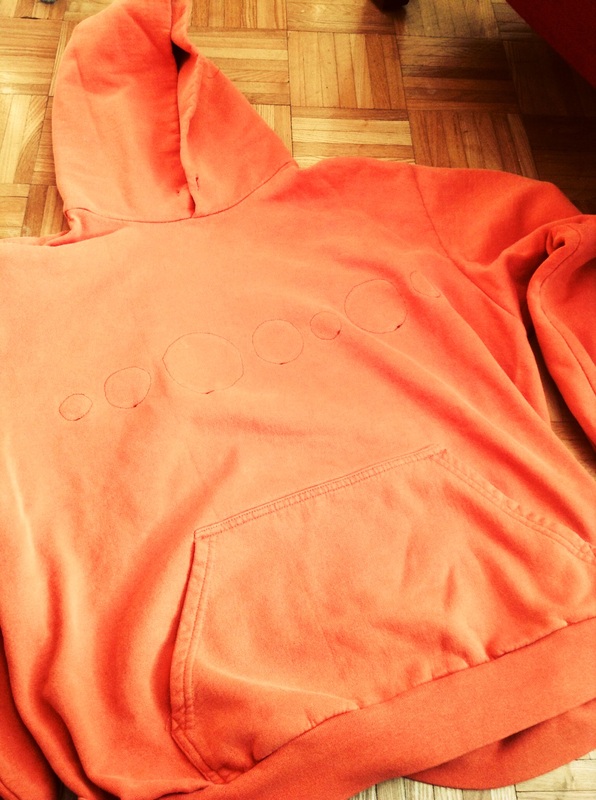 Next, I cut the sweatshirt fabric from the front of the shirt to reveal the patches beneath. With one hand inside the shirt holding the patch, I pulled the front fabric up with my other hand to separate the two pieces of fabric. Then, I nipped the front fabric, being careful not to cut the patch, and then cut out a circle along the stitching. 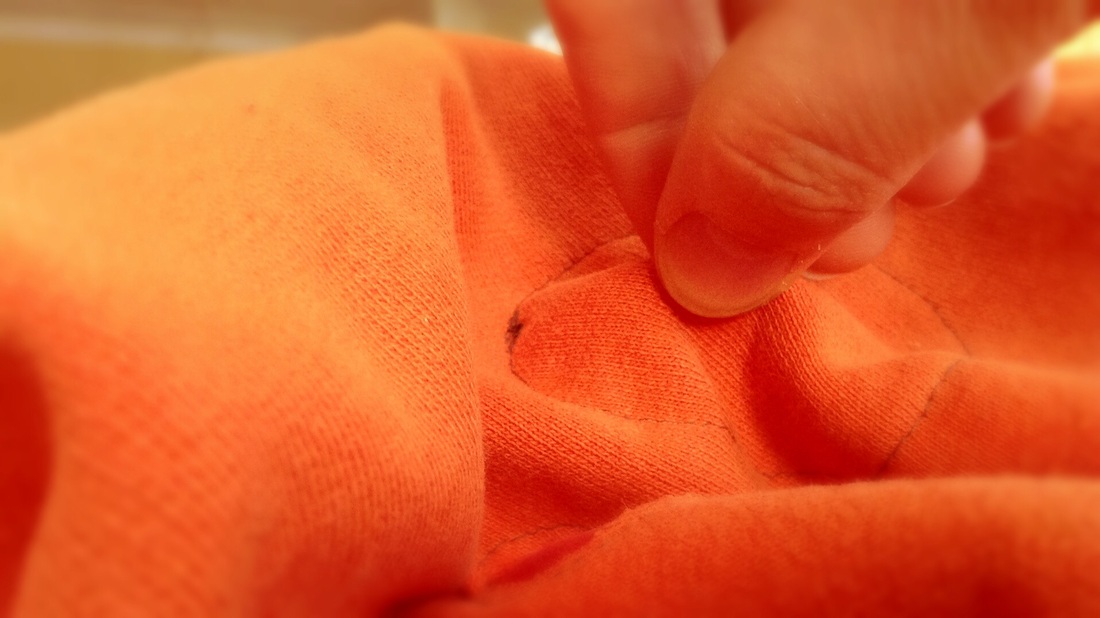  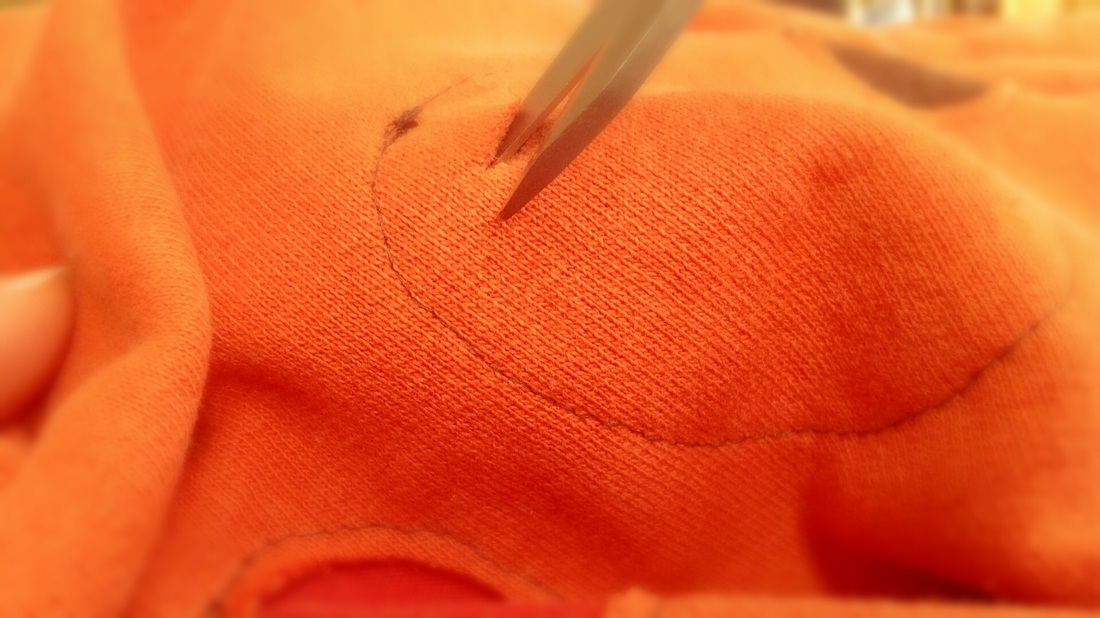 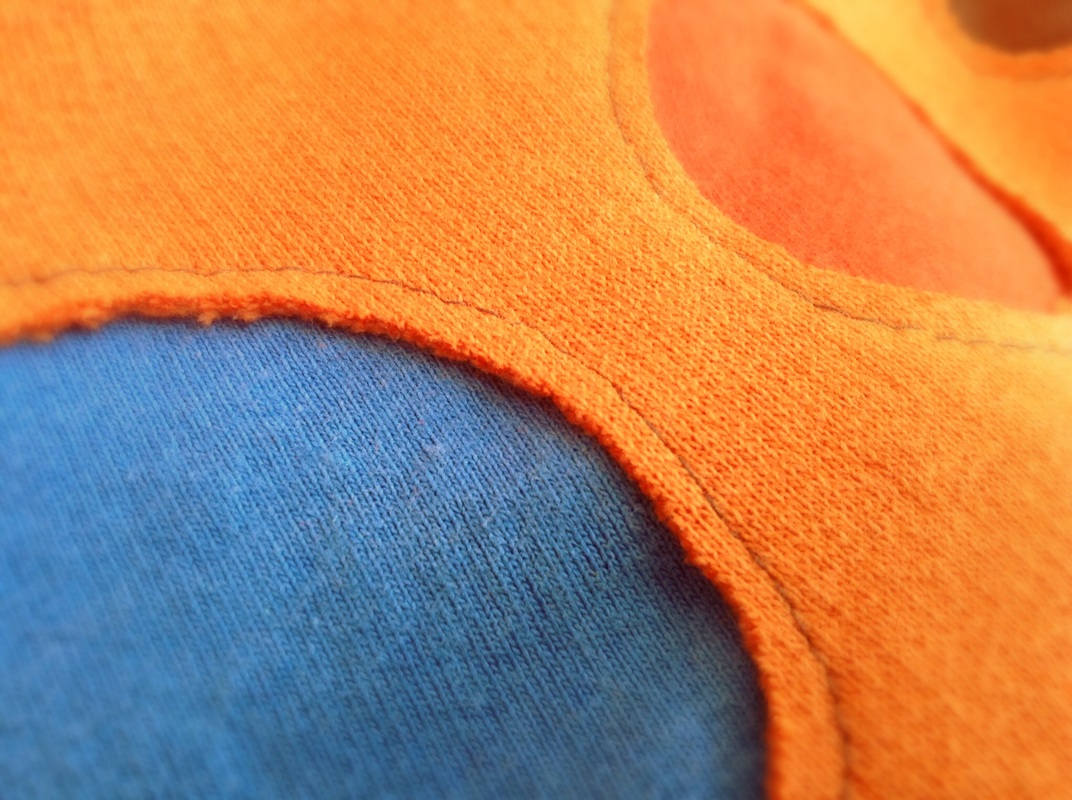 So there you have it: my beloved cozy sweatshirt reinvented. Not only is the unsightly stain gone, but my shirt has a unique and colourful new style that I'll be glad to wear.
Sorry if I've blinded you with all the orange.
Now. What shall I upcycle next?
1 Comment
After a month of sorting, pitching, pondering, cleaning and arranging, I have finally completed my mission to give my art studio an overhaul that will make my work experience more organized and inspiring. It was a more intensive process than I had anticipated because, the deeper I delved into the clutter, the more meticulous my sorting and arranging became to help this reorganization be effective for the long haul.
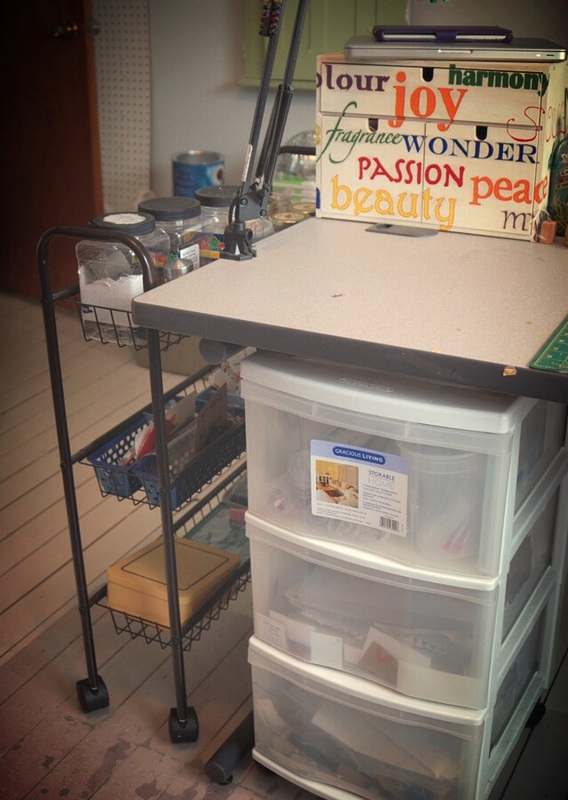
So, let me take you on a little tour. Yay! This is what you see when you walk in the door. On the right is my macho work area for stuff that involves pounding, drilling, torching and smashing. On the left is where I more gently work on art and cards.  First stop on the tour: my art desk. I had two goals when I rearranged my desk: create lots of work space, and keep close at hand the things I use a lot. I have organized my most-used art tools into a series of pottery and wood containers along the back edge of my desk. The art supplies I use the most sit on a lazy susan (I'm bad at putting things away, so this caters to my bad habit). All my pens and markers are organized in those little plastic drawers and the organizer that sits on top of them (which I made with toilet paper rolls). In the bottom right corner of the photo you can see where I toss my trash and recyclables. I'm really happy with this workspace now. I've got lots of room to stretch out my work, and I've got most of what I need right in front of me. And I love sitting by the window. 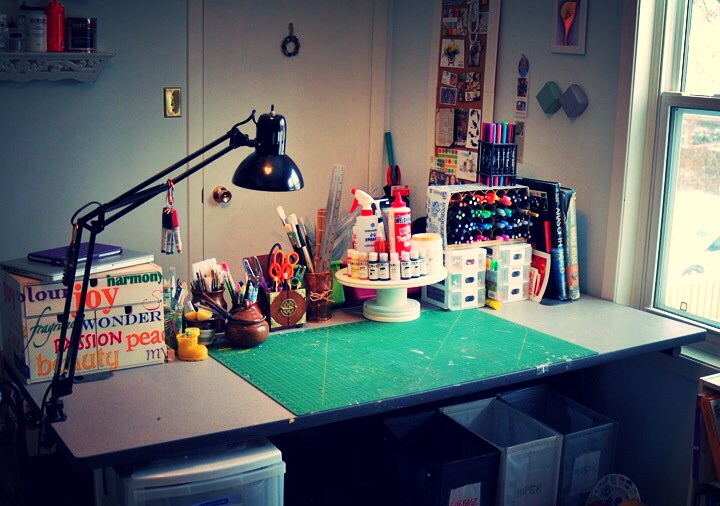
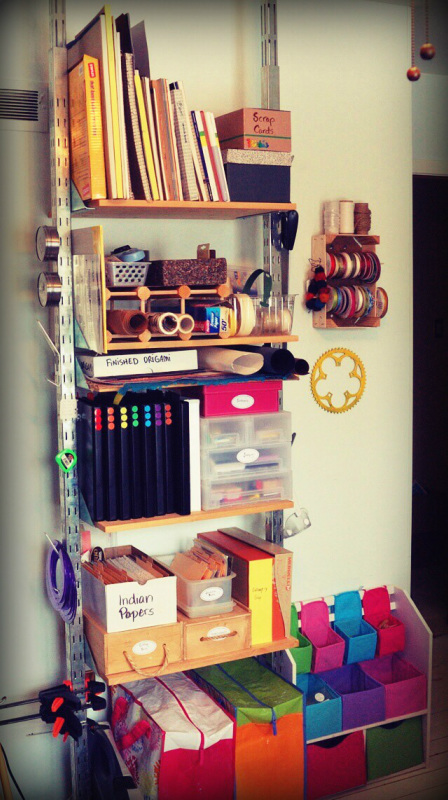
To the right of my desk, I have stored frequently-used art supplies within easy reach on low shelves along the wall beside me. My tubes of acrylic paint hang on the wall from binder clips: now they're easy to access, and they look funky too. (Thank you, Pinterest universe, for the idea.) I got a bargain on a bunch of plastic trays at a local reuse centre, and I used them all to keep my full sheets of paper organized. A tower of paper makes me happy inside. 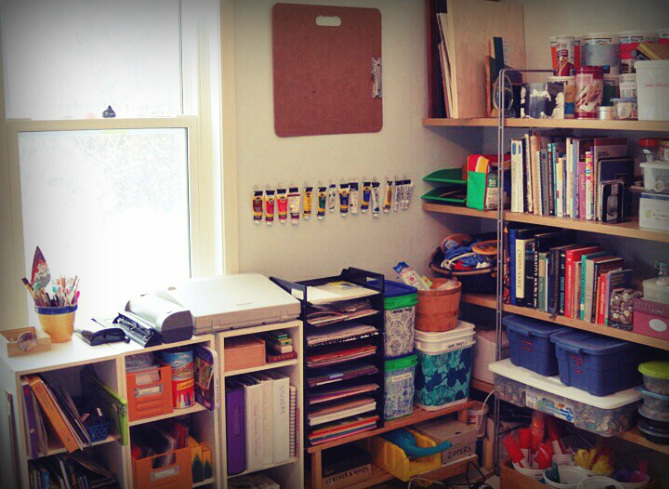
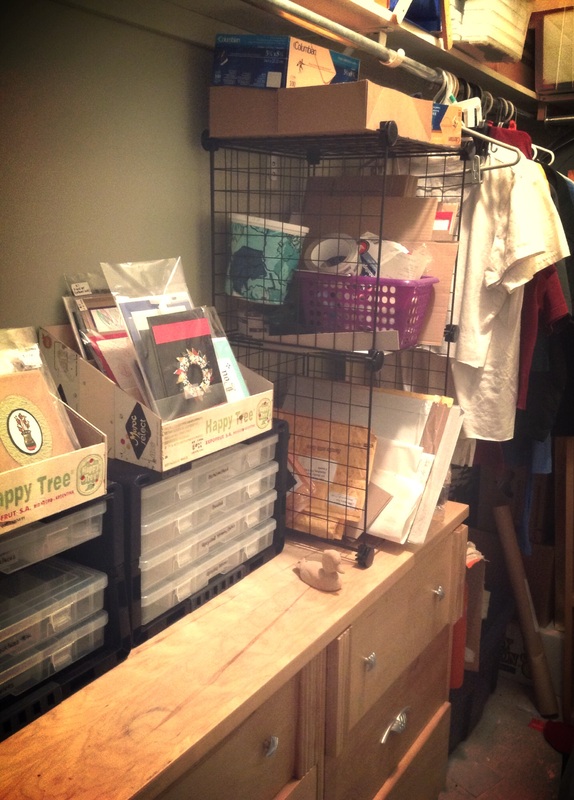
The back wall of my studio is home to upcycled materials. The centre column of this shelf holds the upcycled materials I use the most, including postage stamps, bottle caps, beach glass and vegetable bags (sorted in bins on the floor). A couple more bins of upcycled stuff sit on the low shelf on the left. I wanted to keep my upcycled materials together in one place so that, when I sort through loads of garbage, it's easy to organize and put away. In another corner of the studio, I have a bin unit that holds other upcycled materials I don't use as much that patiently wait for their debut in a new project. The left column of the shelf stores all my substrate and t-shirt scraps, and the right column holds my printmaking and sewing supplies. 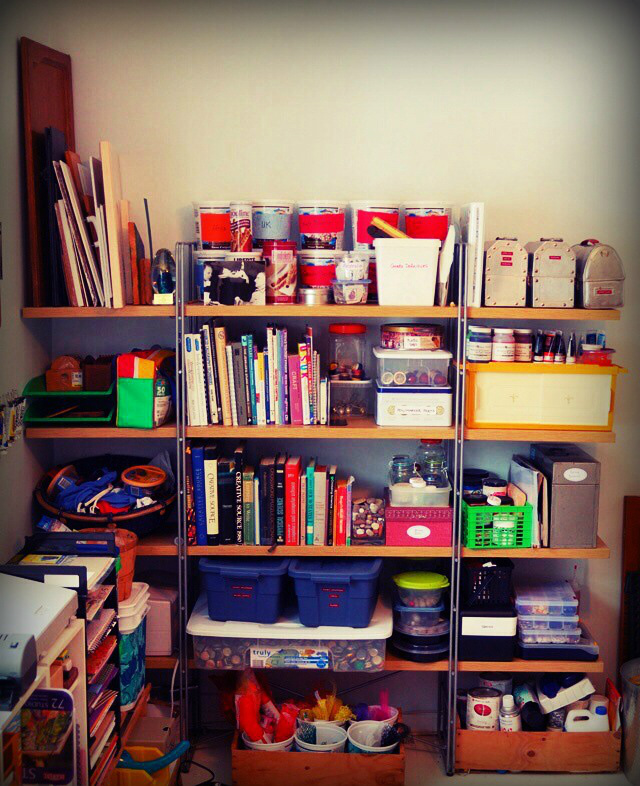 My grunt work station didn't change very much through my art studio overhaul. The biggest thing I did here was sort through all my beads and modify how I store them. I grouped them together by material (i.e. glass, wood, semi precious) and colour, and moved some of them into the side drawers of the desk to alleviate some clutter. 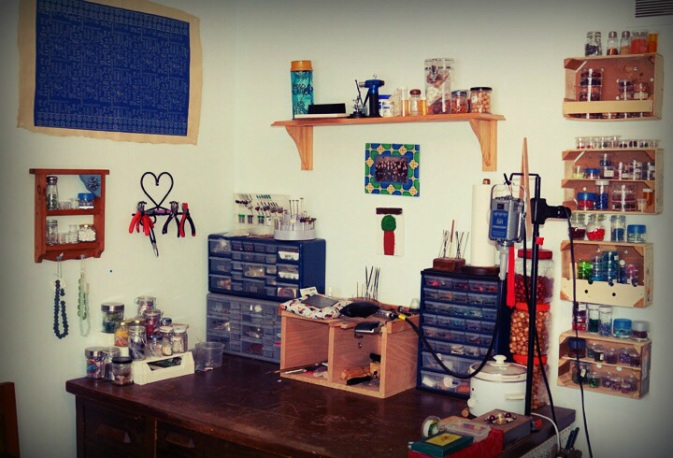
So there you have it, folks! I feel relieved and excited to have this reorganization project finished. My workspace is now inviting and organized, and still bright and quirky the way I like it. I have no doubt that the arrangements and decor will continue to change over time, but this is a good foundation: a great way to start the year.
|
Jane Hogeterp Koopman
Subscribe to Jane's Blog by RSS or email:
Categories
All
Archives
January 2018
Stuff I love:
|


 RSS Feed
Proudly powered by Weebly