
 I'm so excited to tell you about the next phase of my (almost) free kitchen update. If you haven't read about what's happened so far in my crazy adventure, you can catch up here:
You can probably tell from the above photos that the window and the shelves were different shades of white. The white of the shelves was a pretty close match to the white I already used to paint the backsplash, so they didn't need much work. But the window clashed a little. I didn't want to paint it because I wanted to maintain its beautiful heritage and character. So, I improvised by rubbing some white paint (the same paint I used on the backsplash) over it, just to tone down the window's off-white tone. I did this pretty roughly to keep things rustic. 
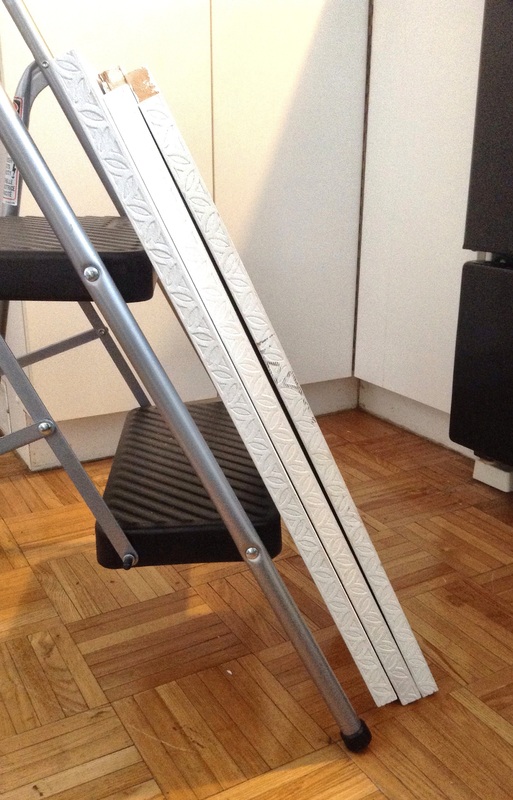
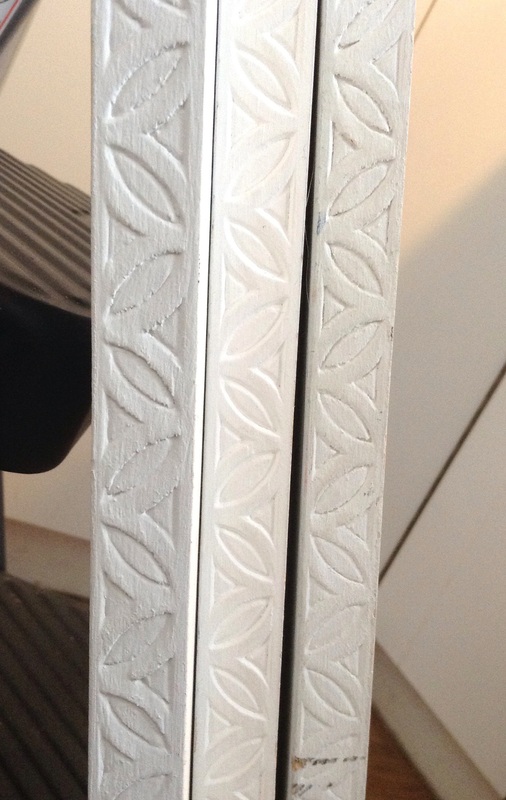
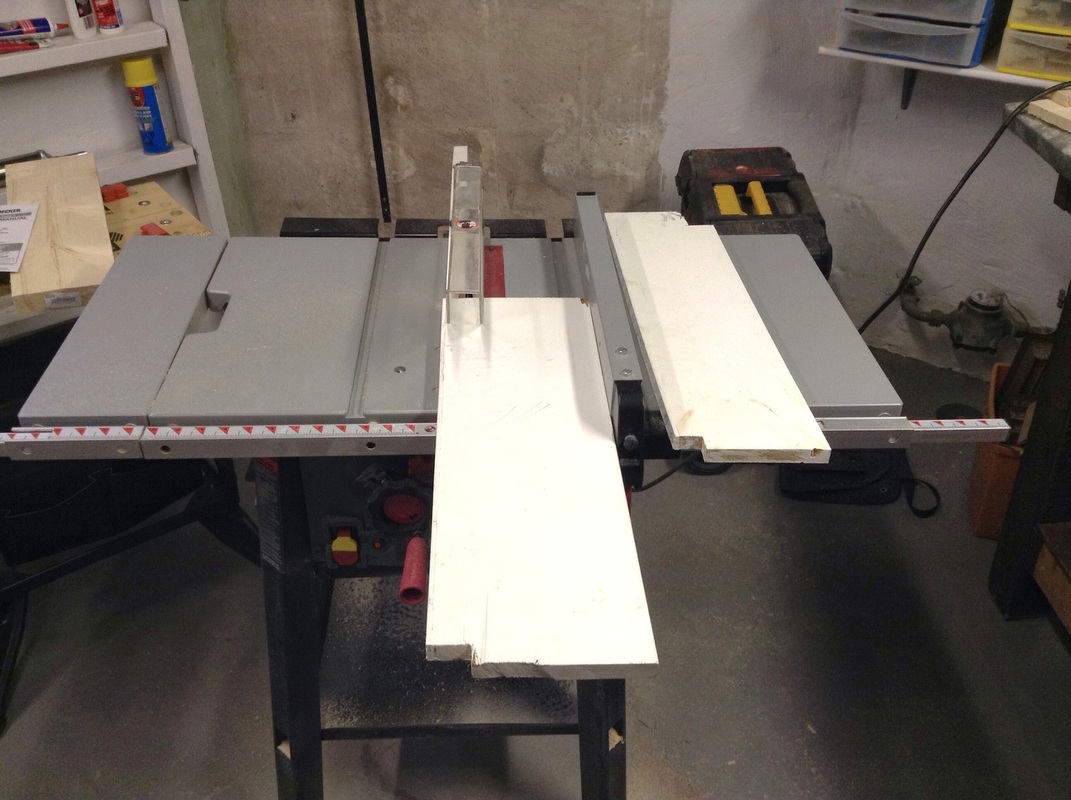
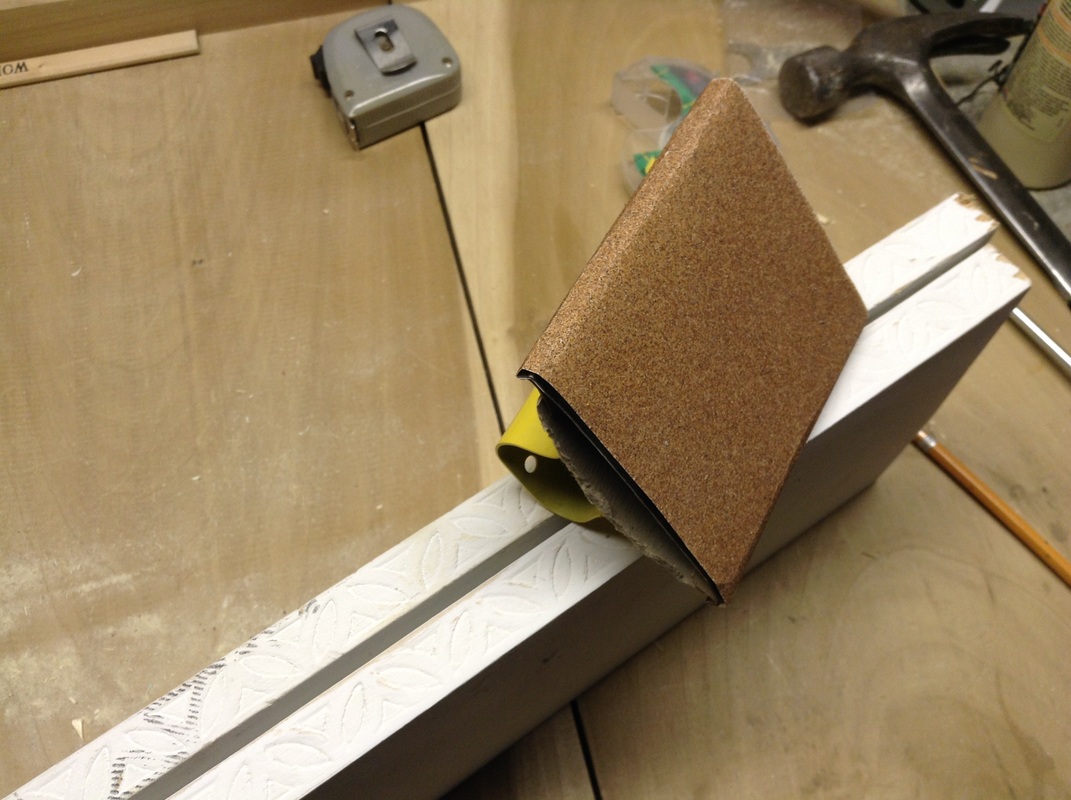
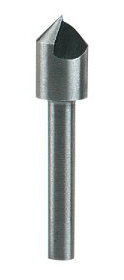
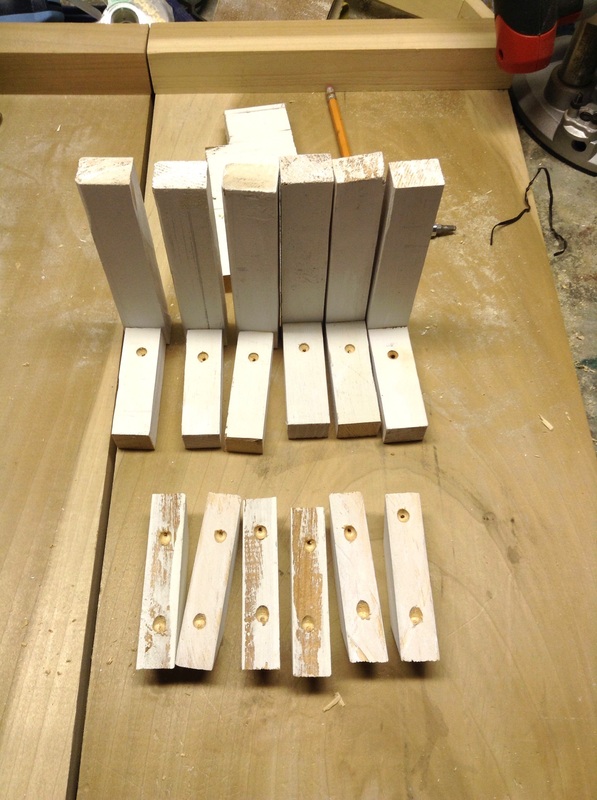
I weighed a few options for shelf brackets. I had a few kicking around in the basement, but most of them were too big. I had some white metal brackets that were the right size, but they totally detracted from the character I was hoping for. So I took to Google and Pinterest to see about making my own brackets. After looking at a few ideas, I came up with a simple design to make brackets using the off-cuts from my shelves. They're pretty basic brackets: two pieces of wood forming an L-shape, reinforced by another piece cut at 45 degree angles (courtesy of the compound mitre saw, bless!). 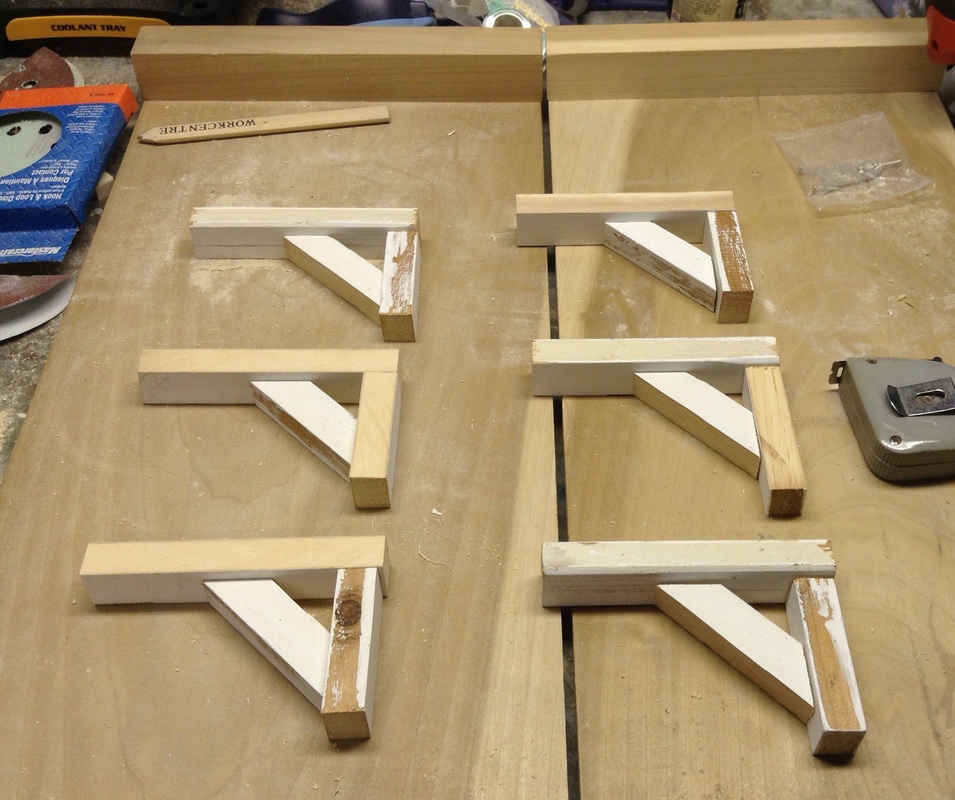 If you don't really care about how I constructed the brackets, skip this part. I won't be upset. I cut six each of 6" lengths, 3" lengths, and mitred reinforcements (I think they were 1.8" wide at the narrow edge). Using the same expert painting technique I used on the window, I roughly rubbed some white paint over all the pieces to match them to the window and shelves. I glued the straight pieces together into an L-shape, and later reinforced the joints with wood screws. I marked and pre-drilled all the holes where more screws would go to assemble the brackets and attach them to the window. Pre-drilling prevents the wood from cracking when the screws go in. Part of my pre-drilling process was to use a countersink bit, which creates an inverted conical depression in the wood so the screws sit flush with the wood.
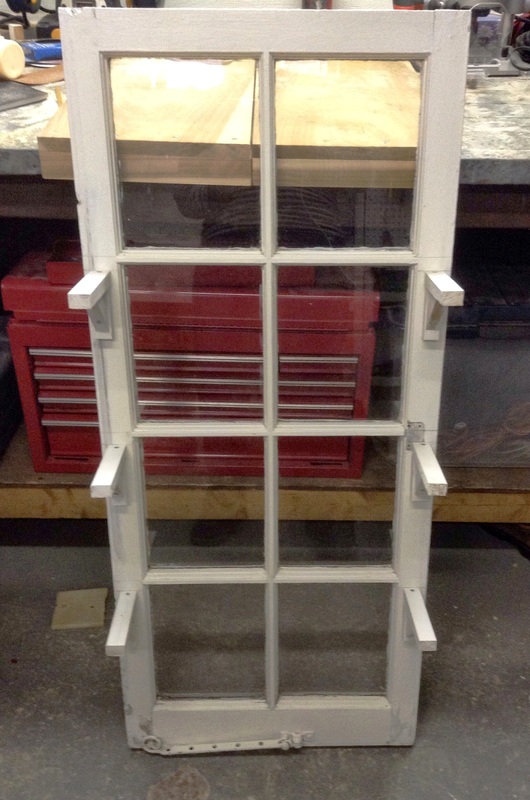
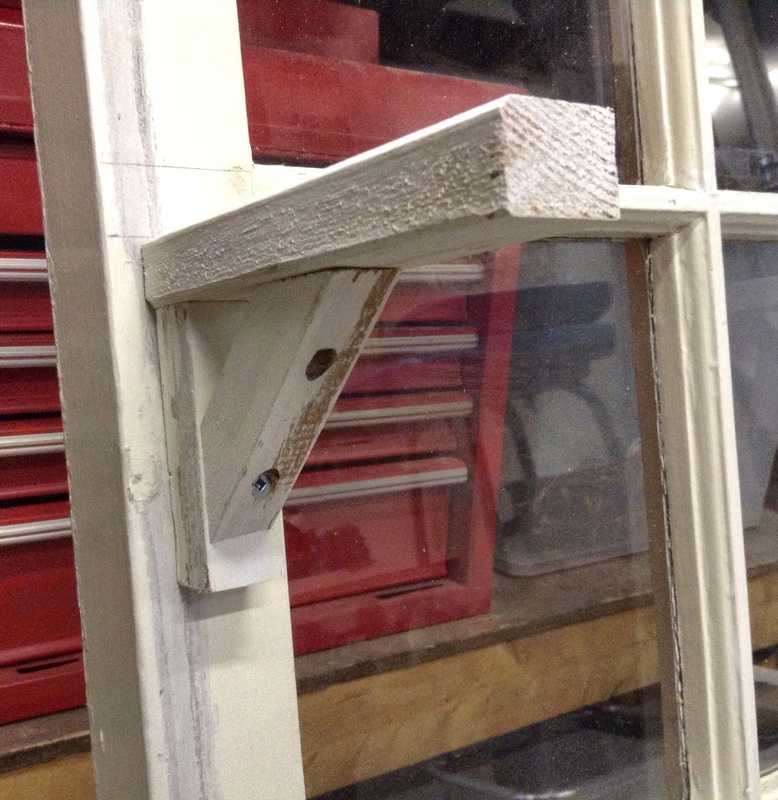
I screwed each L-shape to the window and made sure each was level before attaching the mitred reinforcements. I won't go into all the details because this isn't a tutorial (and I'm certainly not qualified to give a tutorial on this), but hopefully you get the general idea. Anyway, here's how things looked with the brackets fastened to the window before I attached the shelves.
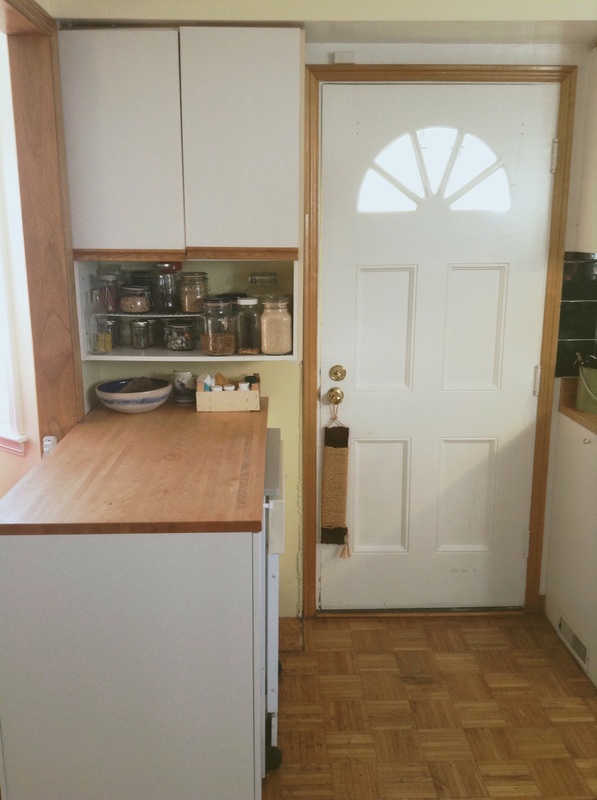
With brackets firmly affixed, I attached the shelves to the brackets with wood screws. Once again, I pre-drilled and used a countersink bit. Once the shelf was assembled, I had to get it up on the wall. As you can imagine, this shelf is pretty sturdy and heavy, so it had to be anchored to a stud. And let me tell you, finding studs behind plaster walls is very challenging. We tried a couple stud finders (which Dan is always quick to remind me, never fail in finding him), but got nothing conclusive. So in the end we took an educated guess that a stud would be sitting 16" away from the side of the door. And thank goodness, we were right. The shelf is now solidly in place, and I'm ecstatic. 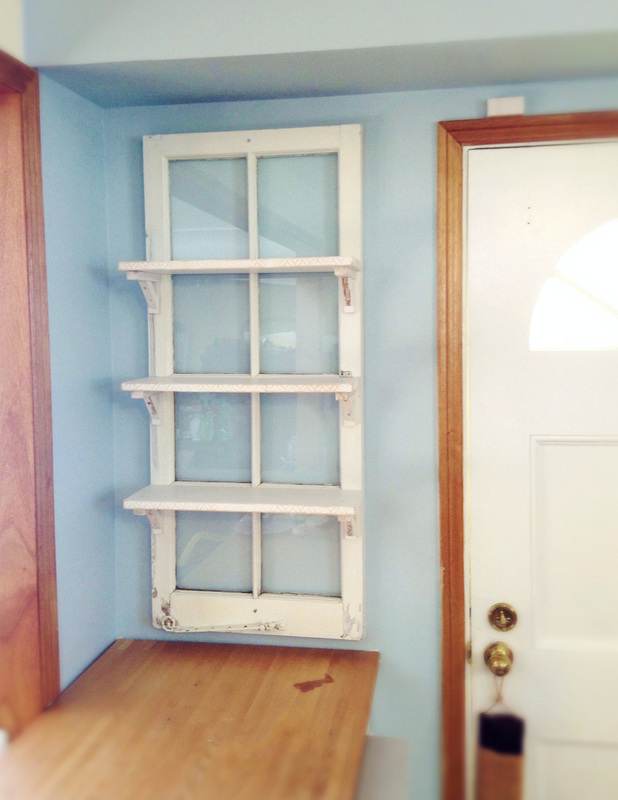 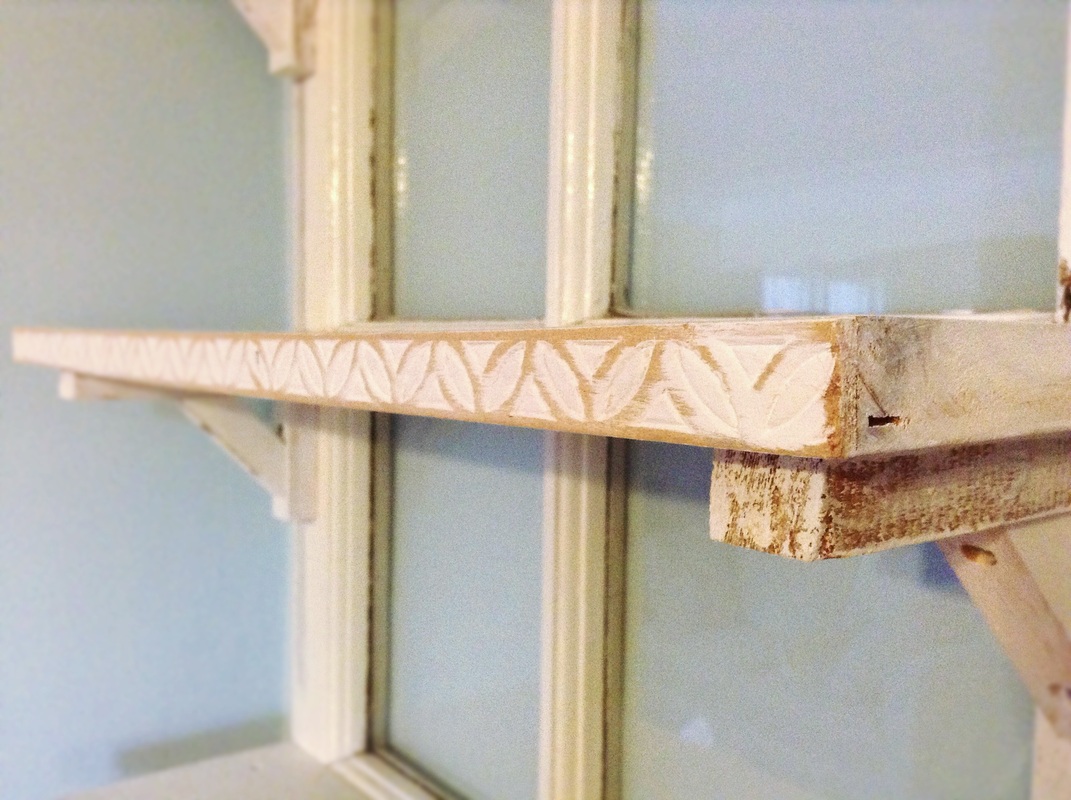  I'm so happy with how it turned out. I love how the reflective surface of the window panes add brightness to the kitchen. I love how the embossed details on the shelf edges complement the ruggedness of the window. And I'm quite fond of my quirky makeshift brackets. Dan and I have both been pleasantly surprised with how much the shelf holds. Almost all the contents of my old pantry cabinet fit on the shelf. 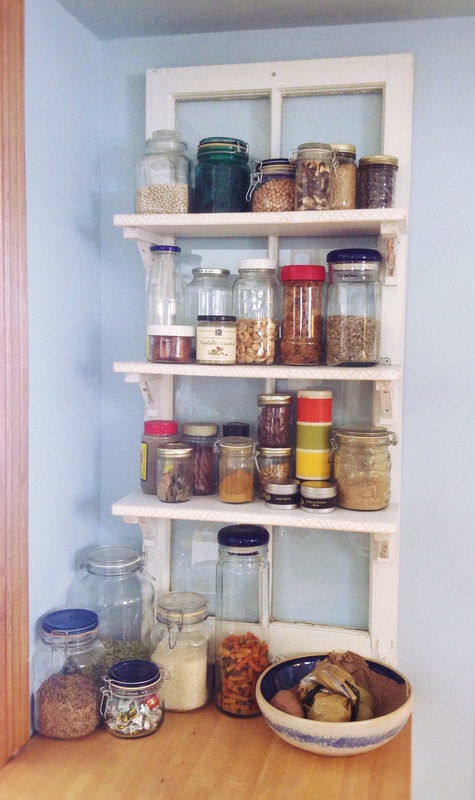 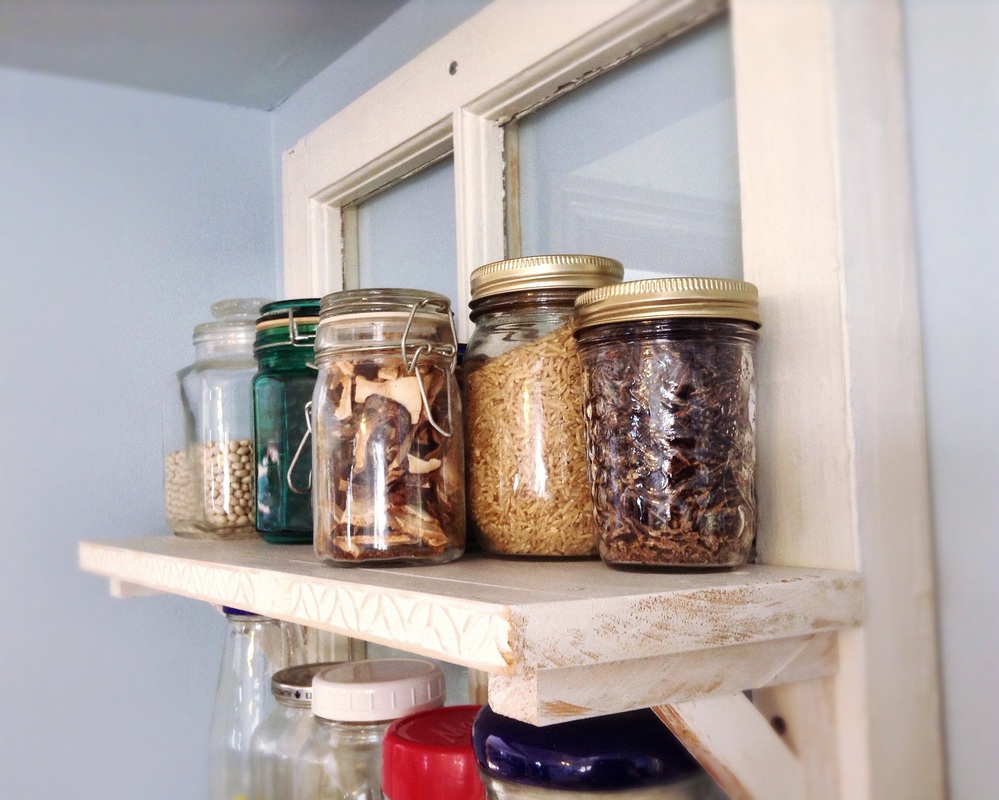 This is going to sound ridiculous - and it probably is: when I come downstairs in the morning, and turn into the kitchen, the shelf is the first thing I see, and I literally feel my heart lift. It is so much lighter, brighter, and more colourful than what was there before. 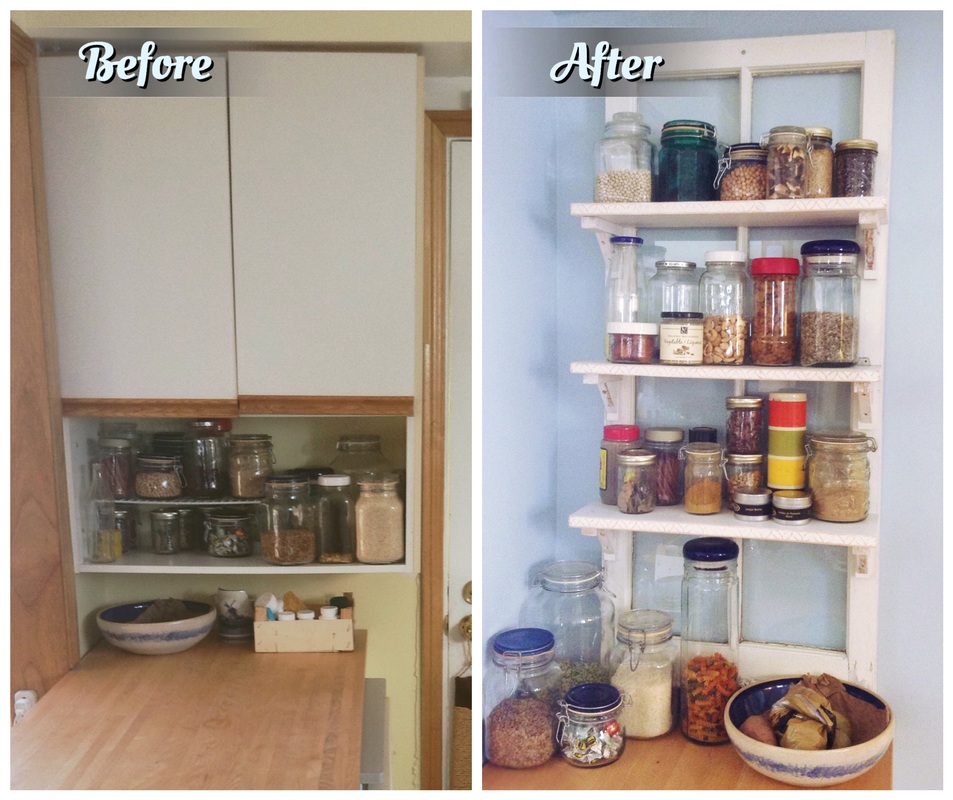 And of course, it's so much more unique and interesting. I spent absolutely nothing on this project, except my time of course. Even the wood screws were left over from other projects. So here's where my spending on the kitchen (almost) free transformation stands at this point: The Almost Part (including taxes) $ 100.64 spent to date + 0.00 (old window pantry shelf) $ 100.64 Next, I need to trim up the lovely window that I uncovered by removing cabinets. This will be another adventure because I know nothing about trimming windows, and the window is arched. For my mathematically challenged self, this should be interesting to say the least. And now for one more fancy Pinteresting process collage of my old window pantry shelf . . . 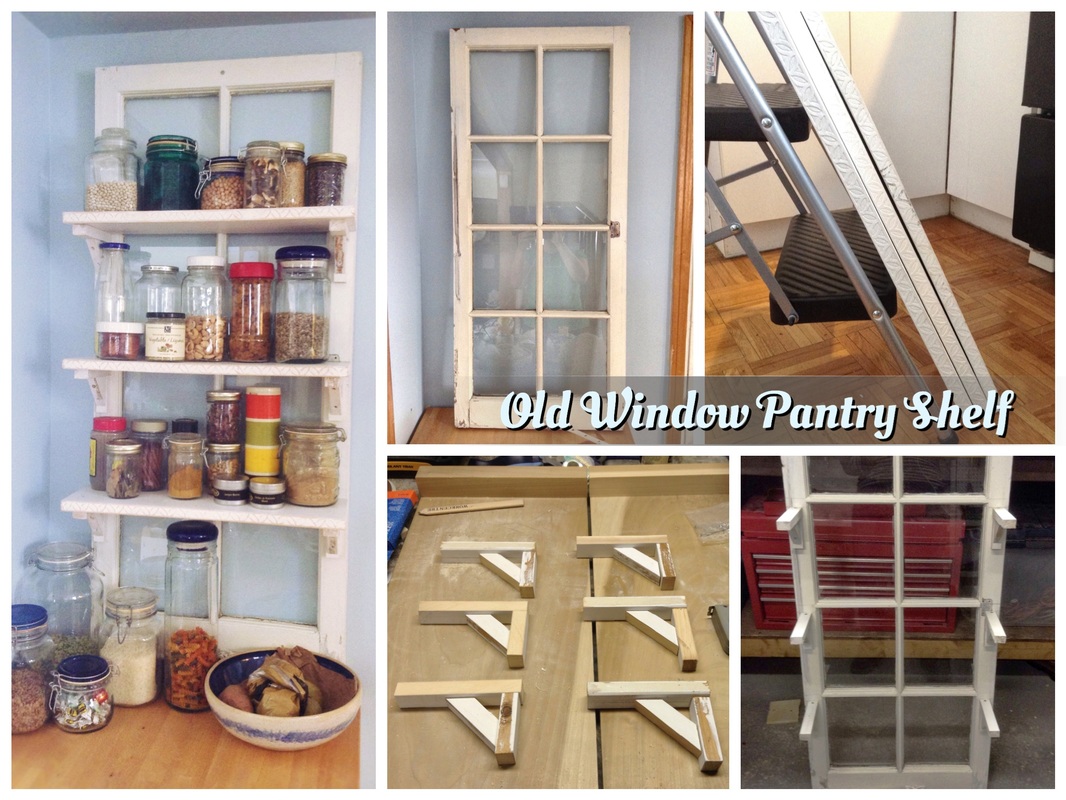
1 Comment
|
Jane Hogeterp Koopman

Subscribe to Jane's Blog by RSS or email:
Categories
All
Archives
January 2018
Stuff I love:
|

 RSS Feed
Proudly powered by Weebly