
|
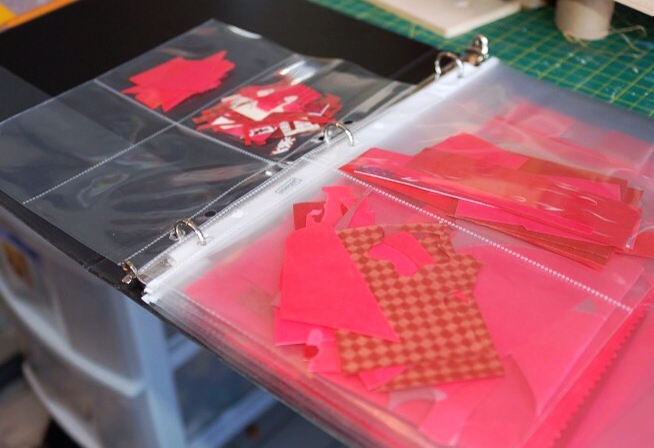
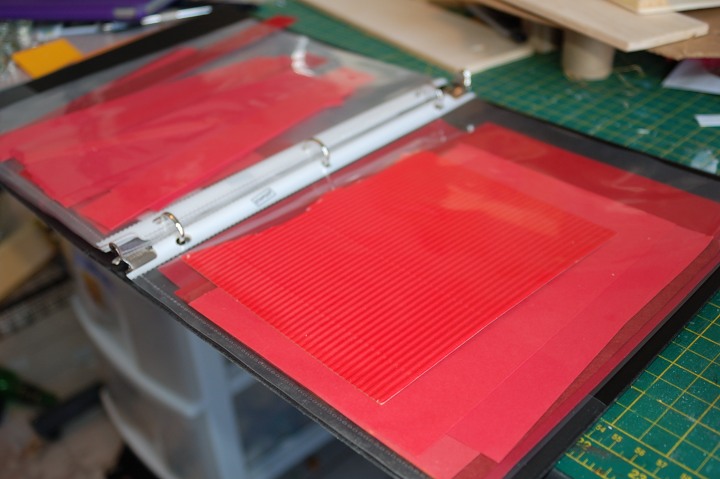
So, January's nearly over, and my daunting art studio organization project is nearly done. Next week, I'll do the dramatic "reveal" of my new space, and in the mean time, I thought I'd share some of the tricks I've used to get there. I've gleaned many of the ideas from books and Pinterest, and some I even came up with all by myself. Cutting Through the Clutter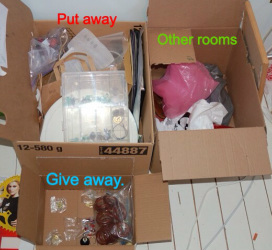 This idea from Kathi Lipp's book The Get Yourself Organized Project helped me feel less overwhelmed as I approached the chaos in my art studio. Lipp suggests that, when you begin to clean up and organize a room, you have ready three boxes and two bags. In Box 1 you place anything lying around that needs to be put away within the room. In Box 2, you place the things that belong in other rooms of the house. Box 3 is for the things you want to give away. The two bags are for garbage and recycling. In the photo, you can see my three boxes. Using this little system cleared the clutter so that I could focus on organizing my space. After all, what's the point of putting things away if you don't know where you're going to put them? The three boxes also kept me on task. Instead of getting side-tracked by putting things away in other parts of the house, I just put them in my "other rooms" box to deal with later. Scrap Paper Organization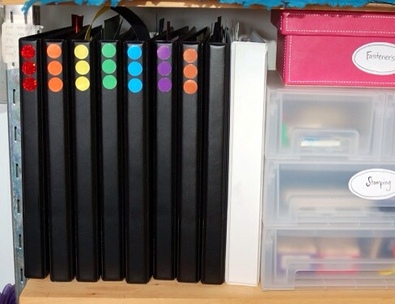 I have a lot of scrap paper, and keeping it organized has always raised my blood pressure. I never know where to put it, and more so, I don't know how to find the pieces I want to use when I need them. I came up with this idea, and I'll see how it works: I sorted all the scrap paper by colour, assigned each colour a binder, and organized the paper in each binder with page protectors. The page protectors help me organize the scraps into similar sizes and shapes - as you can see below - so that I can find exactly what I need when I'm working on cards and art. I adhered coloured stickers to each binder's spine so that I can easily pull the binder I need off the shelf when I want to use some paper or put it away. As you might have guessed, the white binder stores white and off-white papers. The binders are within easy reach of my art desk to accommodate my laziness.
Mmmm . . . Wine Boxes
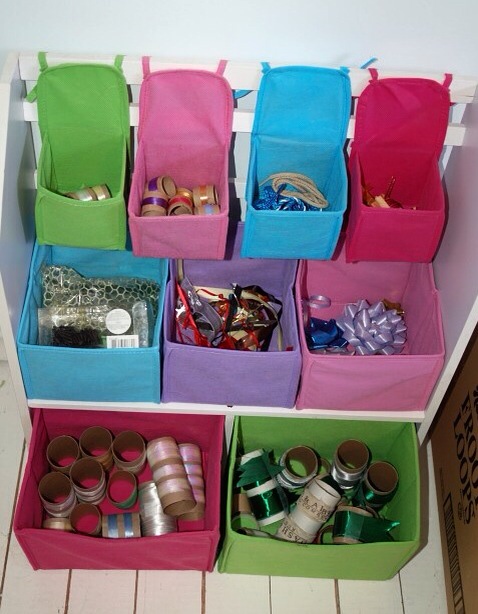
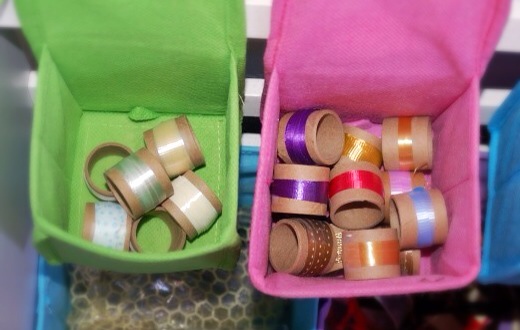
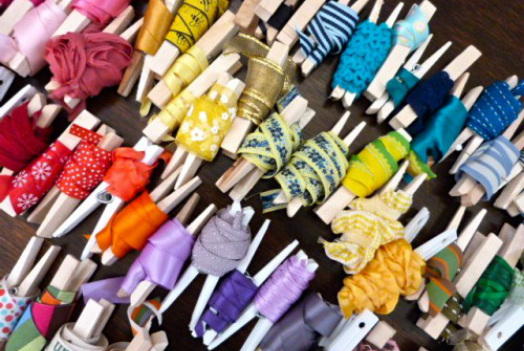
Herding the Hoard of Ribbon ScrapsLike scrap paper, I have a lot of ribbon scraps. They have sat overflowing in a plastic container in a tangled mess that looks like a bowl of spaghetti. To start sorting this out, I untangled and unknotted the ribbon spaghetti, and sorted it into different types, like fabric, wired, gift-wrapping ribbon, string, etc. I had an empty small storage unit with fabric boxes and figured this would be great for keeping the ribbon organized. I wrapped long pieces of ribbon around toilet paper rolls, fastening them with tape. I had some sections of narrow cardboard tube (no idea where I got them), and they were perfect for wrapping short pieces of gift-wrapping ribbon. Short pieces of fabric ribbon got wrapped around clothespins, an idea snagged from Pinterest. It took a while to do all this, but now that it's done, I think it will be pretty simple to prevent ribbon spaghetti in the future.
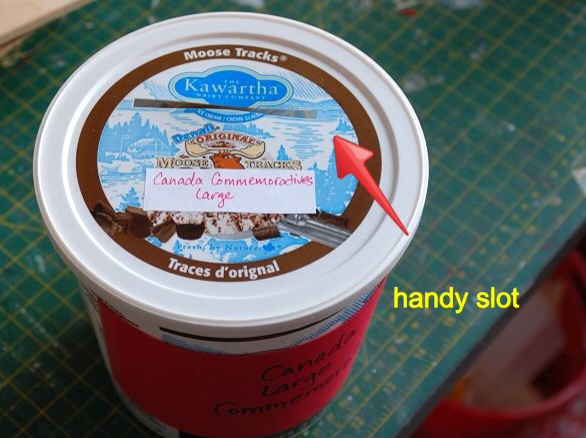
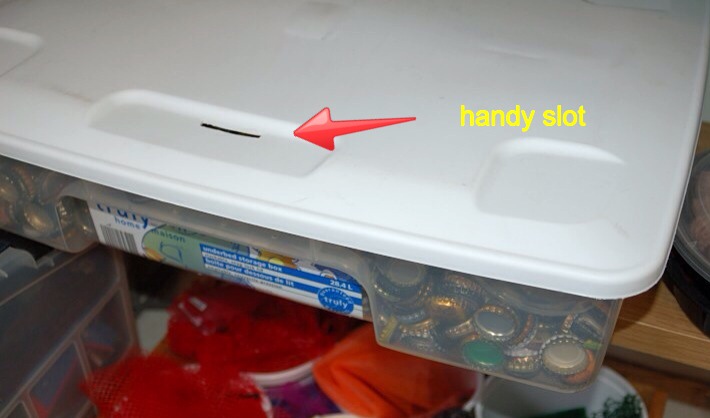
Organization for Lazy PeopleI will be the first to admit that I am bad at putting things away. If something can't be put away quickly, I put it off. There. I said it. So rather than fight it, I am arranging things in my studio to accommodate my laziness. One way of doing this is to employ what I will call the piggy bank tactic. When I'm sorting out my upcycled materials, I find it tedious to pull containers off shelves and open lids to put things away. I realize how ridiculous that sounds. Nevertheless, I thought I would make life easier for myself by cutting slots into the lids of containers so that I can just drop items into their proper places, like putting coins in a piggy bank.
Over the next few months as I work away in my studio, these organization ideas will be put to the test. I have high hopes that they'll help me stay organized and make my work easier.
0 Comments
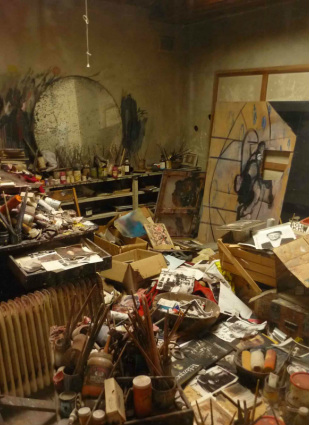
 I've been sort of dragging my feet into the new year because, throughout the closing months of 2013, I resolved to dedicate the month of January to getting myself organized. I'm not one for new year's resolutions (because I know I won't keep them), but January is the natural time to take stock of how last year went in my home and with my business, and determine what needs to get done in the months ahead. November and December were a flurry of activity, and I looked forward to January when I could take some time to assess. Now that January is here . . . I feel pretty sluggish about making plans and getting organized. Besides business planning and attending to some household projects, I am trying to reorganize my art studio this January. Not that I didn't try, oh, maybe eight times already in 2013. Each time I went through a crazy busy few weeks, I got frustrated with the clutter and chaos that accumulated (see evidence above). This month, I'm determined to devote the time and energy to designing a creative space that will really work, that needs only minor adjustments in the year ahead. As I embark, it feels a little insurmountable.
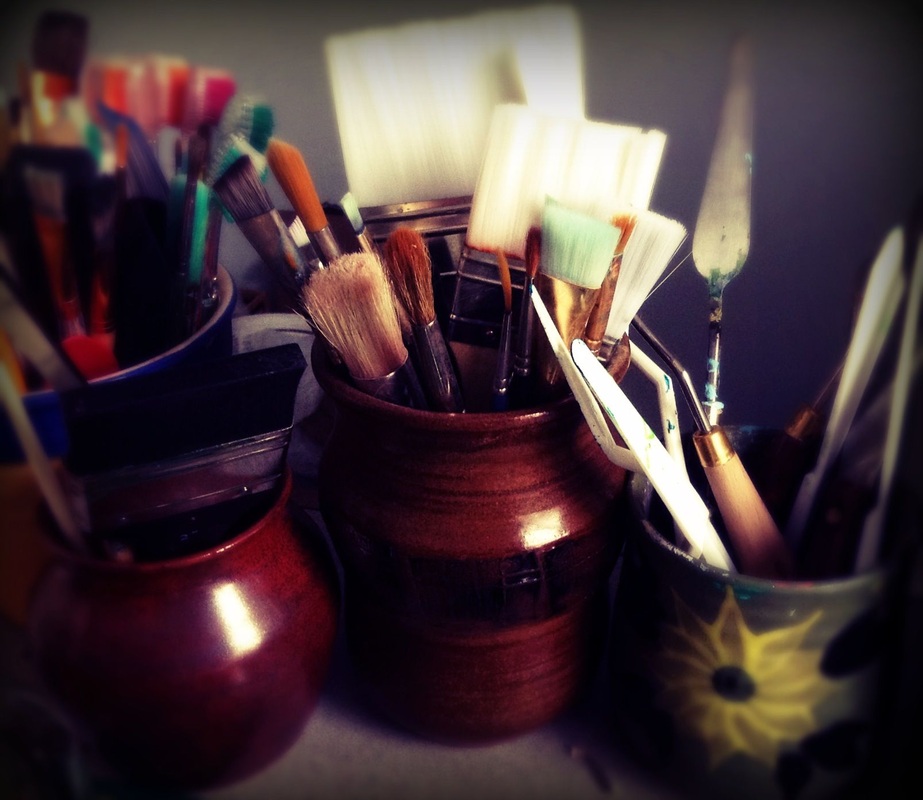
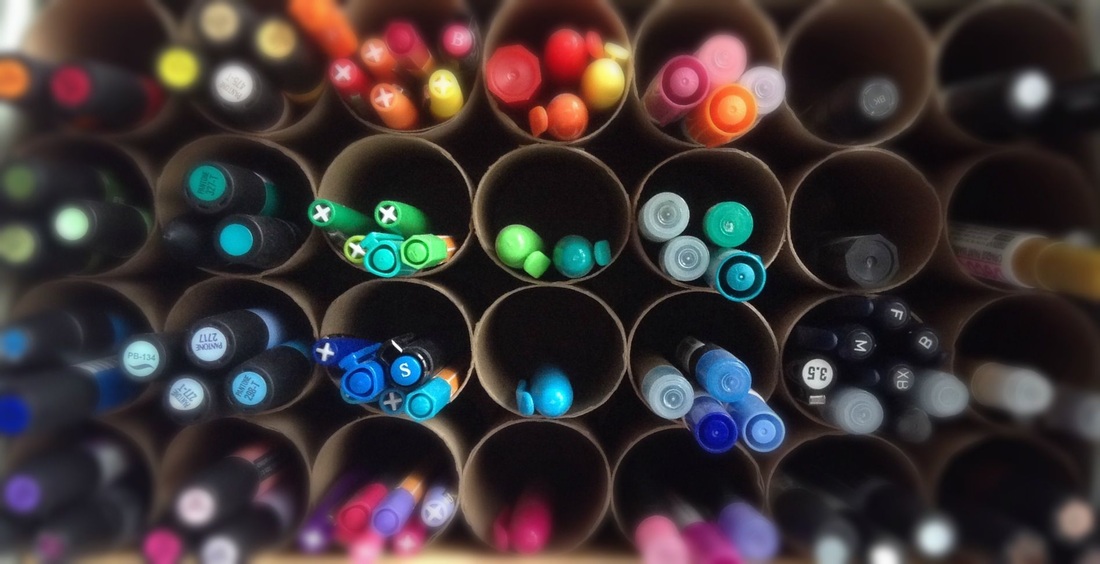
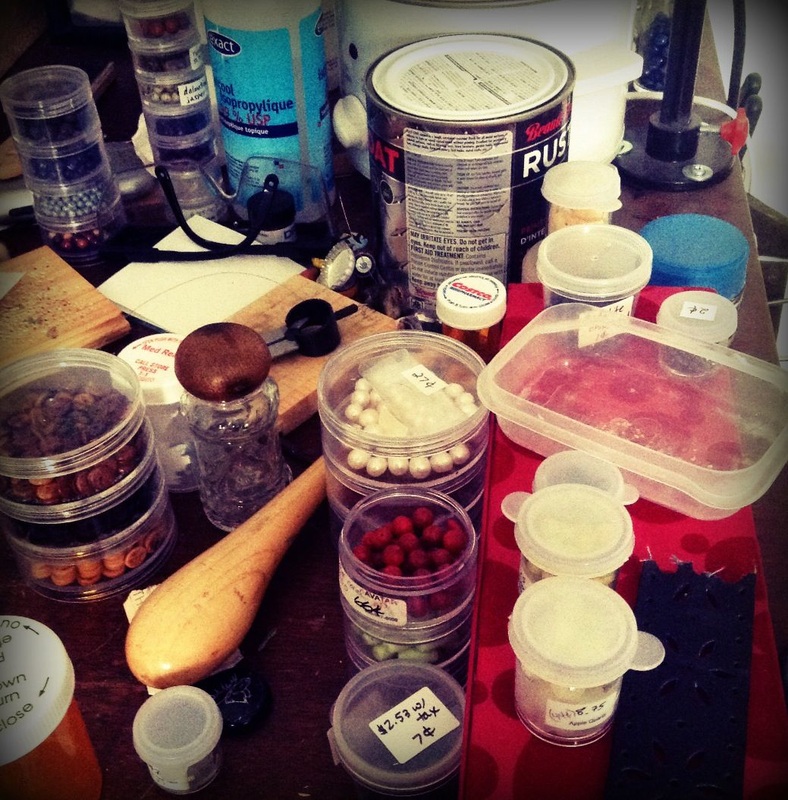
1. PracticalityThe things I use the most must be within easy reach (in close proximity to where I work, at a shelf height I can reach). I need some empty spaces where unfinished projects or odds and ends can reside until I have time to put them away. Several organization blogs and books I've read say that you shouldn't have empty spaces where clutter can accumulate. Clearly, those authors are not as flawed as I am: my reality is not so orderly, so I'm going to accommodate my more casual working style. So there. I have a lot of things to store in my studio: upcycled materials, tools, art supplies, books, shipping and packaging supplies, and jewelry making supplies, to name a few. I want to group them together according to their purpose so that it's easier for me to find things.
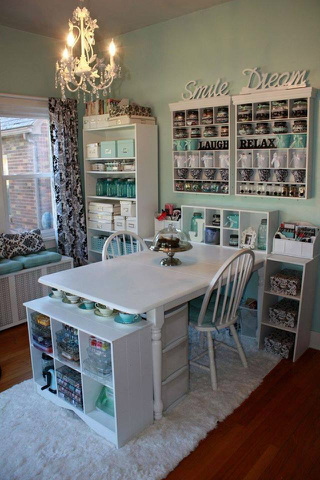
I spend a lot of time in my studio, obviously, so it needs to be a space in which I want to spend time. It must be bright and comfortable, and most importantly, it must inspire my creative senses. For me, that means using quirky upcycled storage pieces, hanging other people's artwork on the walls, taking some time to add decorative flourishes to mundane storage items, and having an idea board where I can tack up random images/objects that tickle my fancy. Starting at the EndIt's hard to know where to start when I survey the mess of bits and pieces that call my studio home. So, I have tried to picture what I want the end result to be. My hours of Pinterest perusing have shown several possibilities that usually fall under two extremes.
I'd like my studio to be something in between these two extremes. I can sort of see it, so I've started setting to work. I'll keep you posted . . . .
|
Jane Hogeterp Koopman
Subscribe to Jane's Blog by RSS or email:
Categories
All
Archives
January 2018
Stuff I love:
|
 RSS Feed
Proudly powered by Weebly