JANE KOOPMAN ART AND JEWELRY
  • Home
  • About
  • Gallery
    • Latest Works
    • Maps
    • Domestic Materials
    • Art Cards
    • Jewelry >
      • Necklaces
      • Earrings
      • Bracelets
  • Sales
  • Start a Jane Jar
  • Contact
  • Blog

Messy Rest

ideas and observations about everyday wonders
from a girl who has never been able to keep her room clean
Blog Home

My Pallet Potting Bench

5/6/2015

1 Comment

 
Picture
For the last few months, I've been telling you about the adventures and misadventures of the kitchen update I'm trying to do for free. In this post, I'll take a little break from that to tell you about a project of a much smaller scale that I undertook at the end of last summer. After a long winter, and with spring here at last, I'm finally able to enjoy the rewards of my labour.

If you've followed my blog or Facebook page at all, you can probably guess that I'm a little obsessed with gardening. Since moving to our corner lot in east Hamilton eight years ago, I've turned a good amount of the place into garden. And from day one, I've been obsessed with the idea of having a potting bench. Well, to be truthful, I really wanted a potting shed, but like most home owners, I've had to scale back my aspirations a little in favour of more essential needs: a roof that doesn't leak is a little more pressing than an adorable potting shed.
A potting bench is a more achievable undertaking, and - you know me - I figured I could make one for almost free. 

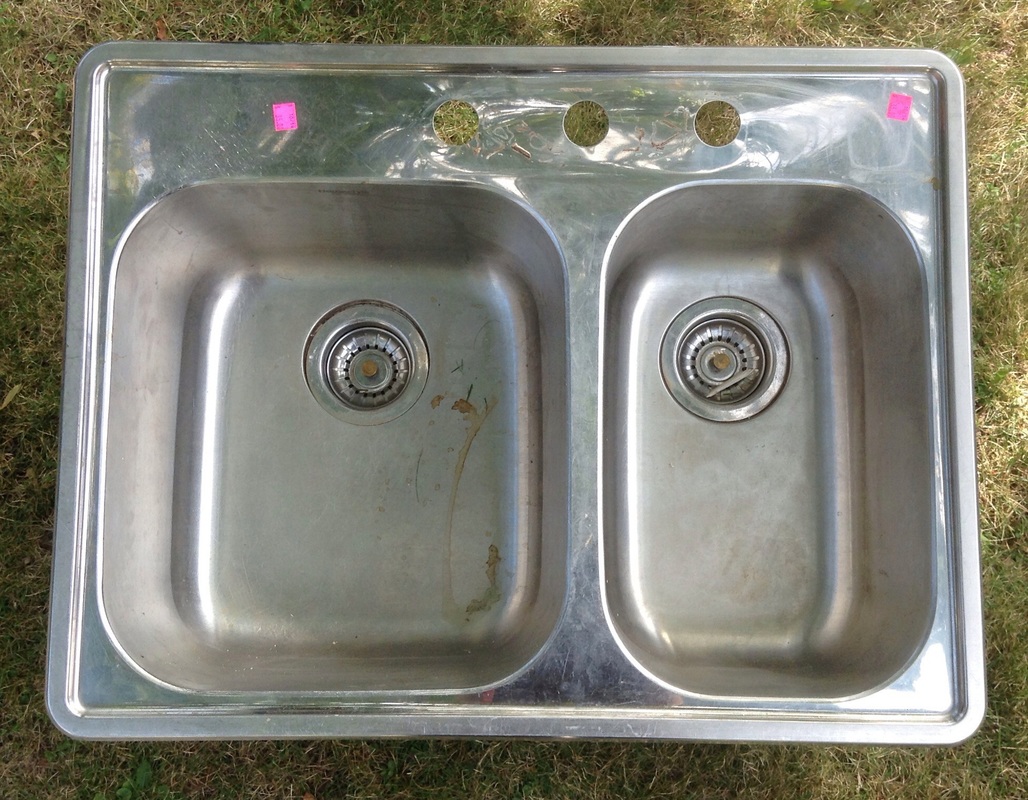
My first step was to decide what features I wanted in my potting bench. I needed ample storage for the loose plant pots that normally litter our patio and garage from spring to fall as I plant, transplant and experiment. I wanted some storage for the small tools I use all the time. And I wanted my bench to have a stainless steel sink so I could muck around with plants and dirt and water without having to worry about being messy. A sink would also be a good place to keep plants wet while they wait to be planted or transplanted.
Throughout the summer, I collected a few wood pallets to use for guerrilla carpentry projects like this one. (Before building the potting bench, I made a rain barrel stand for my parents and a shelf for my studio, all for free, tee hee.) I also had some old 2x4's lying around the garage. Here's the pile of wood I had to work with: a mix of 2x4-ish pieces and thinner planks, and a mix of different types of wood. First I had to pick out the pieces for the frame-y part of the bench.
Picture
Picture
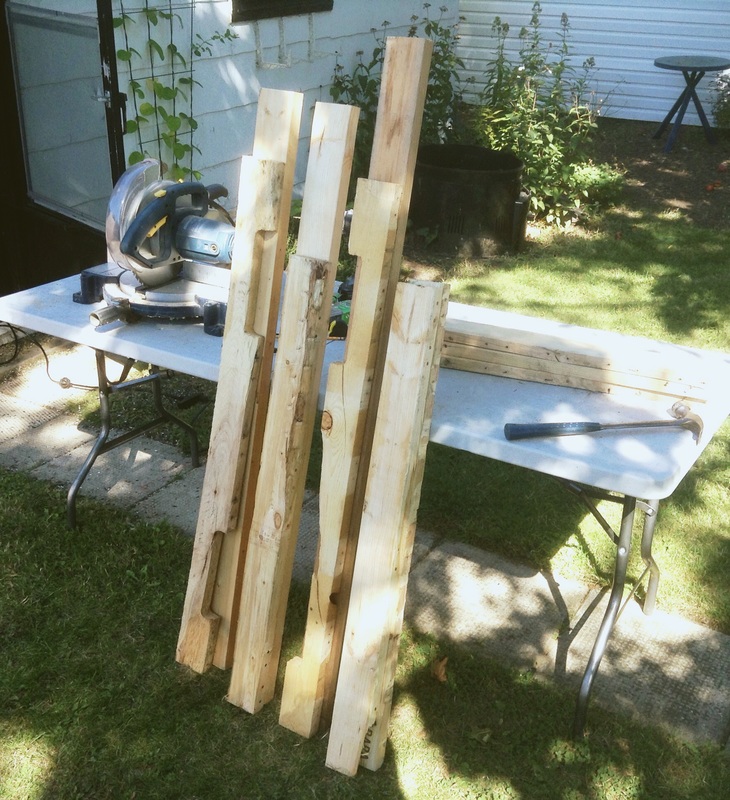
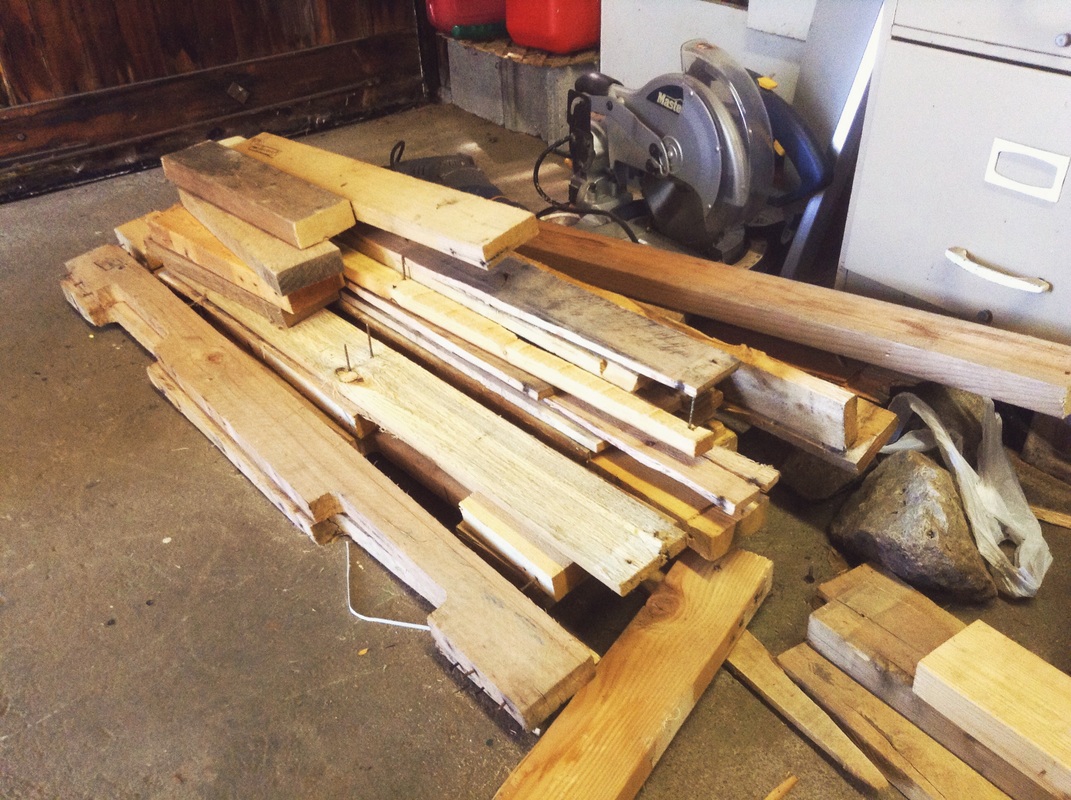
I picked all the sturdiest pieces for the frame, and chose thinner planks for bench's shelf and counter. As you can see, the pieces are far from perfect, and many pieces have curved gouges meant for forklifts when they carry loads of pallets. But I was quite happy to have a rugged, beaten-up, rustic potting bench. (And as Dan pointed out to me recently, my potting bench has a convenient feature in that it can always be lifted by a forklift if necessary!)
Picture
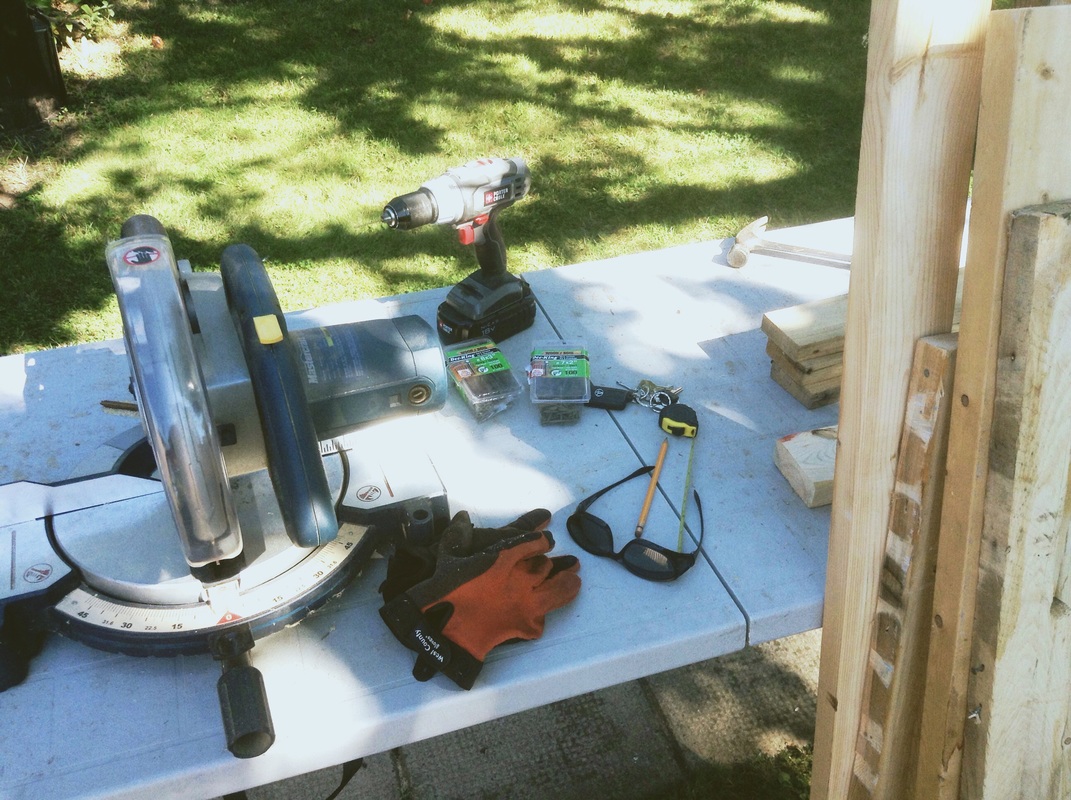
Next, I made sure I had all my tools and implements ready to go. Here's what I used for my bench:
  • Measuring tape and pencil: measure twice, cut once and all that
  • Compound mitre saw: to cut all the wood to size
  • Hammer: to get any remaining nails out of the pallet planks
  • Deck screws: to hold everything together without rusting
  • Drill: to fasten the screws (and build up my biceps)
  • Gloves: to protect my delicate hands
  • Safety glasses: to protect my eyes
  • Random orbit sander and sand paper (not pictured): to take off splintery bits

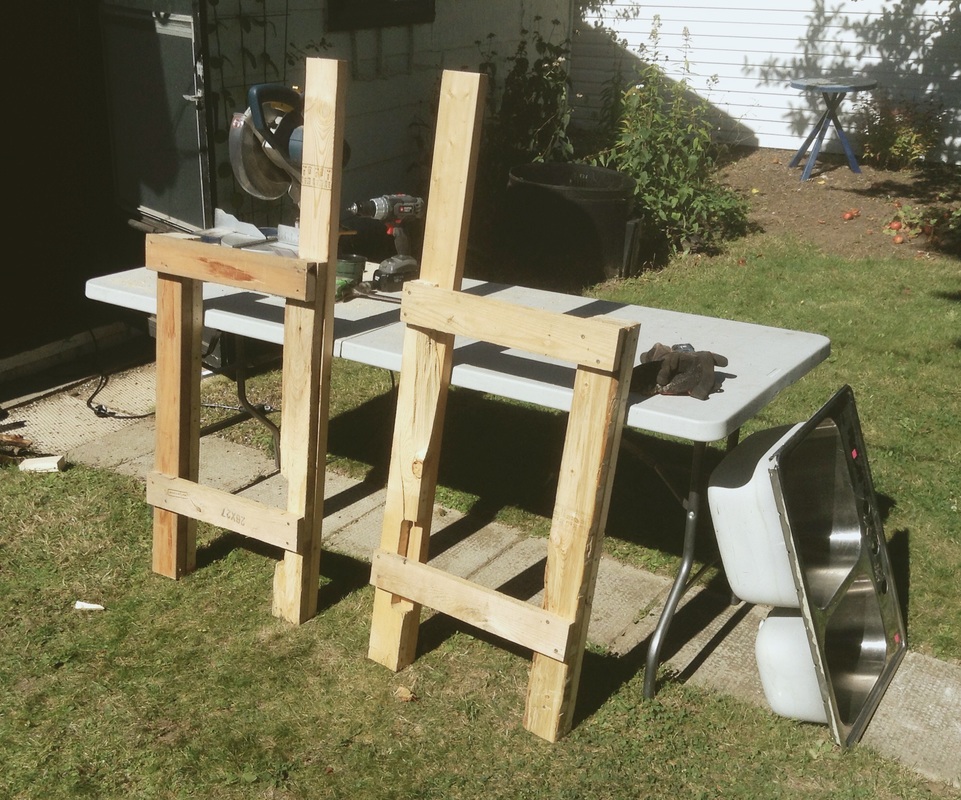
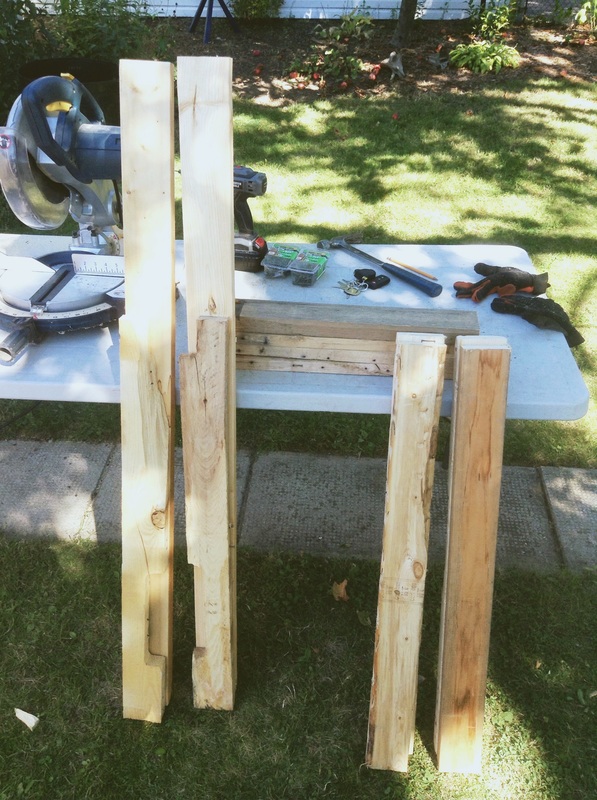
When I build stuff, I like to start by cutting to size all the pieces I need, as much as possible. This keeps things more organized in my brain and in my work area (the backyard in this case). With this potting bench, my starting point was to build two side frames, and then attach the frames together with four lengths of wood. I planned for my bench to be 36" high, which is standard counter height. Here are all my side frame pieces, cut and ready to go!
Picture
I wanted the bench legs to be super sturdy. (I'm going to throw a fancy woodworking term at you now because I'm so proud that I actually know it:) I "sistered" 2x4 pieces together. That means that, for each leg, I attached two lengths of wood to create something square(ish). Modern 2x4's aren't really 2" by 4": they're more like 1.5" by 3.5", so my sistered bench legs are 3" by 3.5" around. For the each of the back legs of my bench, I sistered a taller piece with a counter-height piece because I wanted to have a raised area at the back of the bench for hanging tools. I don't think I explained that very well, so have a look at the finished frames below to see what I'm talking about.
Picture
As I already mentioned, I attached the frames together with four lengths of wood. I used the cross beams of wood pallets for this.

I had hoped to find the stainless sink for my bench at the end of someone's driveway on a garbage day, but alas, when I was looking, no one tossing sinks. So I went to my customary next stop, the local Habitat for Humanity Re-Store, where I found this beauty for $35. 
Picture
Oops . . . I spilled some coffee in the sink.
PictureOpa (Willem) Koopman
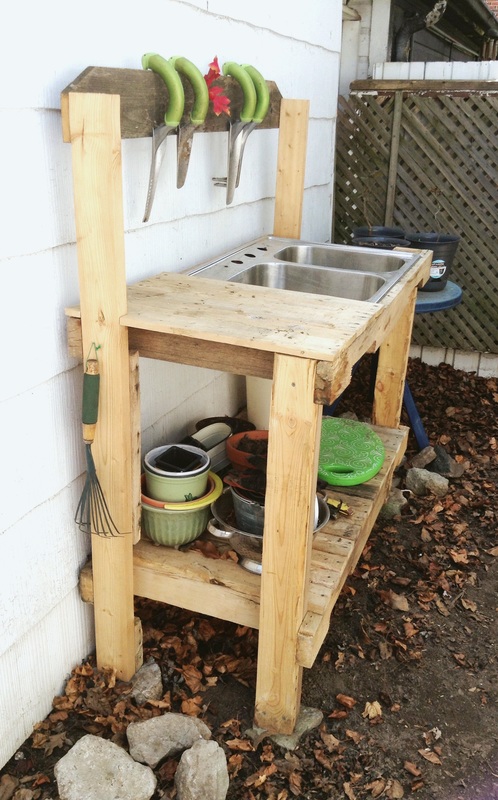
I measured the bench so that the sink would just fit atop the frame, and I must say, it fits like a glove. Next, I added a countertop and a bottom shelf. For these, I used the thinner slats of wood from the tops of wood pallets.

All told, I spent less than $50 on this potting bench. My only costs were the decking screws and the stainless steel sink. Aw yeah.

As a finishing touch to my potting bench, I added a very special detail. When Dan and I got married in 1999, Dan's Opa Koopman made us two Muskoka chairs as a wedding gift. Over the years, we've enjoyed many balmy afternoons in the comfort of these chairs, and inevitably, the chairs have become weather-worn and the joints have weakened. One chair didn't survive our move from west Hamilton to east Hamilton, and the other came apart last summer. Opa has been gone for almost ten years now. And maybe it's silly, but I want to hold on to that broken chair - or pieces of it at least - in memory of him. So I got the idea to incorporate some of the pieces into my potting bench. Now, the top of the bench is made from the arms of Opa Koopman's Muskoka chair, and it holds the treasured garden tools I received from his grandson for my 30-something-eth birthday.

I am over-the-moon happy with my potting bench. It spent the winter under a giant tarp to protect it from snow and cat pee, and now it's in perfect shape for gardening season. I've been using it already, usually with a giddy grin on my face and a wink for Opa Koopman.
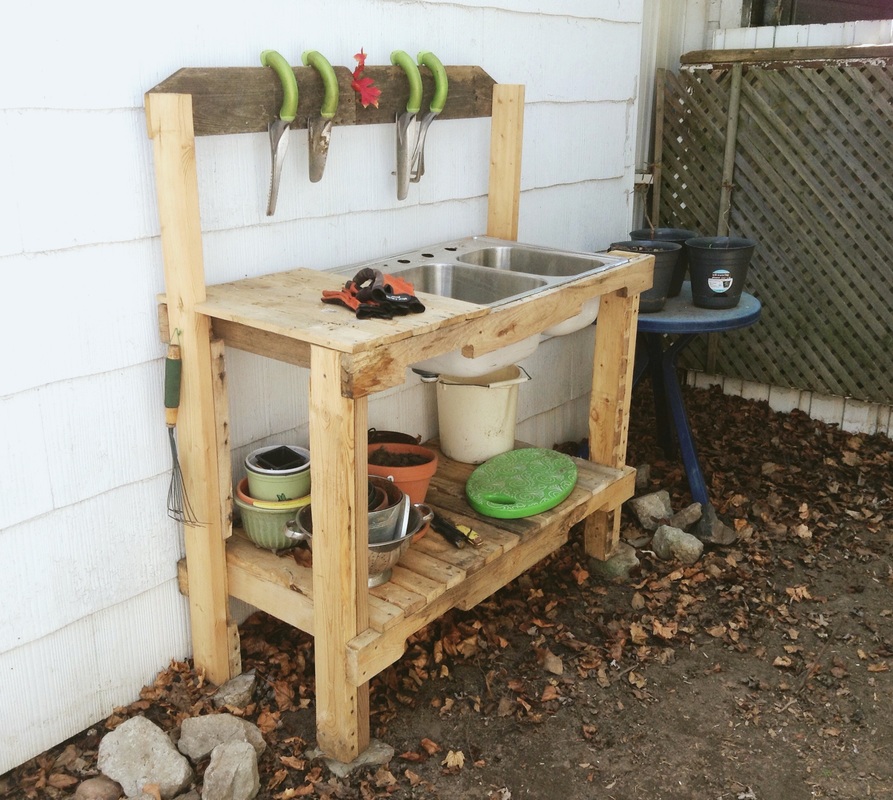
Picture
1 Comment

    Jane Hogeterp Koopman

    Picture

    Subscribe to  Jane's Blog by RSS or email:

    RSS Feed

    Enter your email address:

    Delivered by FeedBurner

    Categories

    All
    Gardening
    Happy At Home
    Inspiration
    Making Art
    Making Food
    Remaking/Upcycling
    Ten Thousand Villages Artisans

    Archives

    January 2018
    December 2016
    July 2016
    June 2016
    May 2016
    January 2016
    June 2015
    May 2015
    April 2015
    March 2015
    February 2015
    January 2015
    December 2014
    November 2014
    October 2014
    August 2014
    July 2014
    June 2014
    May 2014
    April 2014
    March 2014
    February 2014
    January 2014
    November 2013
    October 2013
    September 2013
    August 2013
    July 2013
    June 2013
    May 2013
    April 2013
    March 2013
    February 2013
    January 2013

    Stuff I love:

    • All Sorts Gallery
    • Burlington Centre for the Arts   
    • Love2Upcycle blog
    • Mixed Media Art Store
    • The Mustard Seed Co-op
    • Ottawa Street Farmers Market
Proudly powered by Weebly
  • Home
  • About
  • Gallery
    • Latest Works
    • Maps
    • Domestic Materials
    • Art Cards
    • Jewelry >
      • Necklaces
      • Earrings
      • Bracelets
  • Sales
  • Start a Jane Jar
  • Contact
  • Blog