
|
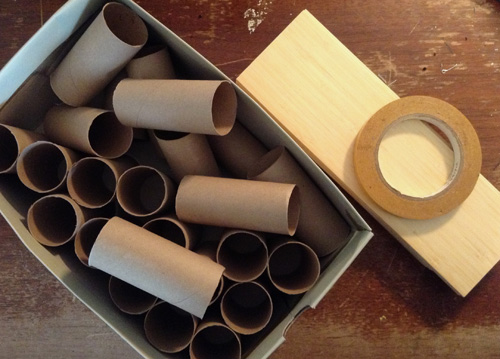
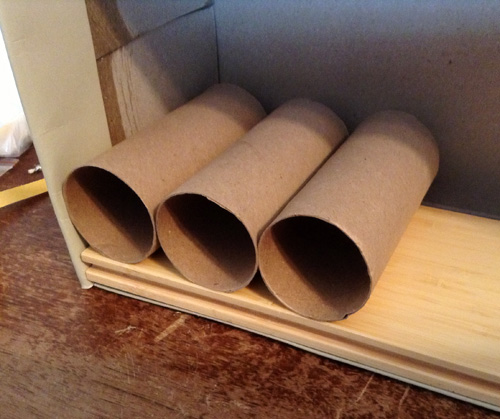
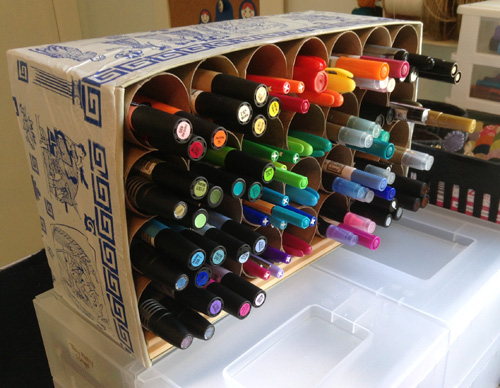
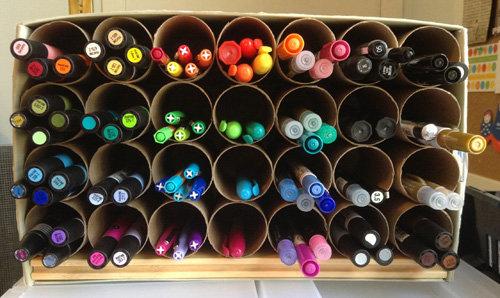
4/24/2013 Tubular Tutorial: Create a Craft Organization Station with Recycled Toilet Paper RollsRead NowMy new favourite discovery is the virtuous versatility of the toilet paper roll. This sturdy paper tube is handy for so many things, and I find myself using it more and more in my studio to organize art and craft tools. My newest endeavour is an organization station (yes, I'm rhyming on purpose) for all my markers - made with 28 recycled toilet paper rolls - and I thought I'd tutorialize the process for those of you who could benefit from some colourful tidiness.
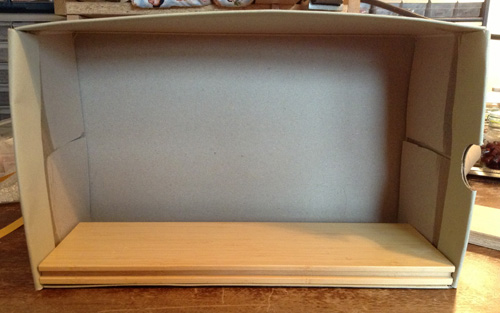
I set my end piece of hardwood flooring inside the long side of the shoe box. If you have no room to set your weighting inside, just adhere it to the bottom of the box.
5 Comments
Dory
4/24/2013 02:02:04 pm
I think I'll Leave a Reply. |
Jane Hogeterp Koopman
Subscribe to Jane's Blog by RSS or email:
Categories
All
Archives
January 2018
Stuff I love:
|
 RSS Feed
Proudly powered by Weebly