
|
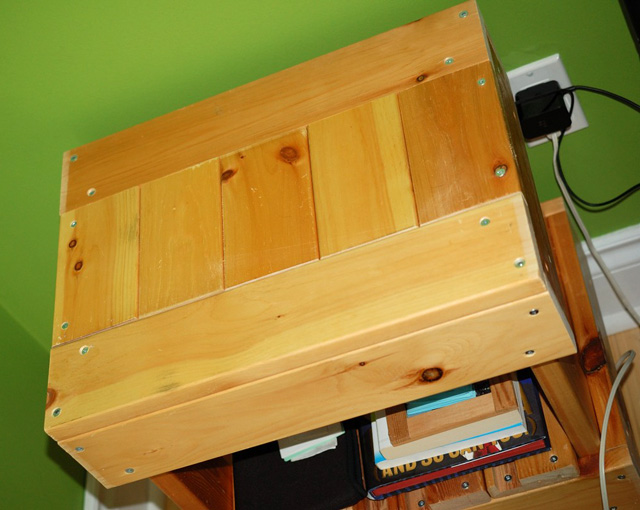
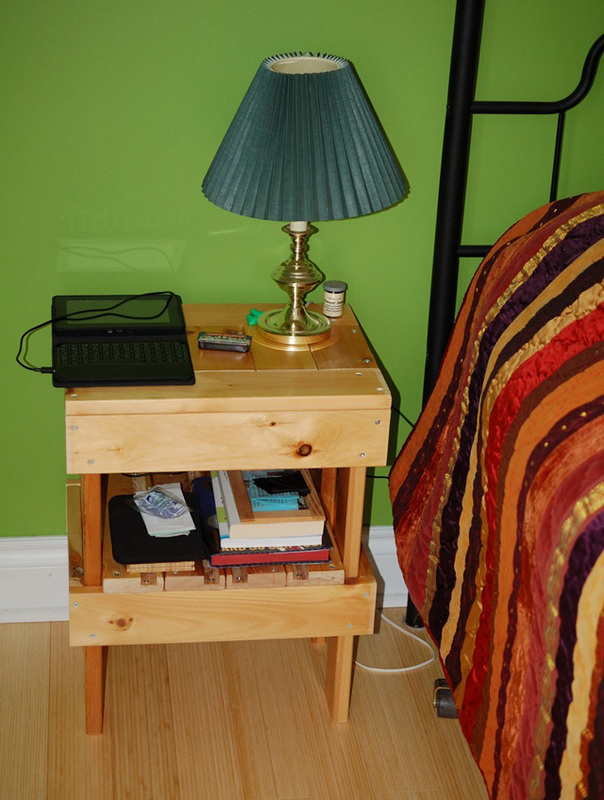
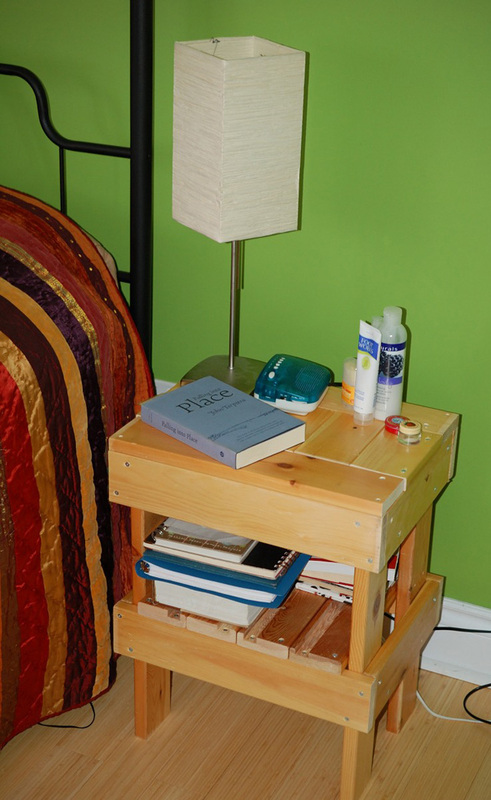
A year ago, my husband, Dan, and I bought a comfy new couch to replace an old pine futon we had inherited from friends many moons ago. The futon sat in the basement for a while as we avoided figuring out what to do with it, until we finally got tired of maneuvering around it and had to decide its fate. Unfortunately, the mattress went to the dump . . . it's pretty hard these days to find anywhere to donate a used futon mattress, and I was too overwhelmed by the thought of trying to upcycle it. But I knew there were tons of things I could do with all that pine from the futon frame. So Dan obliged my whim and kindly dismantled the frame for me. He's so great. A couple months ago, an upcycling project dawned on me for the futon frame wood: bedside tables. For our entire married life, our bedside tables have consisted of whatever we have found around the house that can hold a lamp and an alarm clock. I've never done any real carpentry, but I thought I'd use the futon wood to try my hand at building something a little more spiffy for our bedsides. And hey, I'm always stoked about any opportunity to play with power tools. 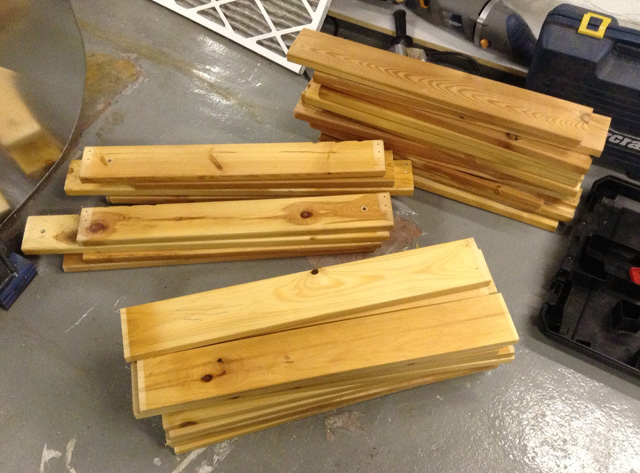 My first step was to sort out all the pieces of the dismantled futon to see if I would have enough wood for two tables. I did! Then I had to remove the staples that had been used in the construction of the original futon. They came out easily with pliers. Here are my pieces of wood, organized and ready to go. 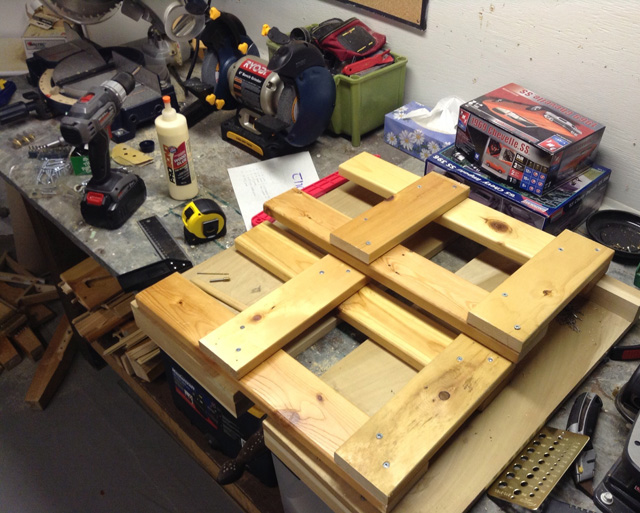 As a carpentry novice, I needed a simple table plan to follow. I'm definitely not smart enough to figure it out by myself. I searched online and found this simple, excellent plan for a plant stand made from a recycled wood pallet. I adjusted it slightly for my rectangular tables, but the instructions were just what I needed. Here are the beginnings of my tables: the side legs. If you look very closely, boys and girls, you can see the tools I used: compound mitre saw (at the top left of the picture), drill, wood glue, tape measure, right angle thingy, countersink bit and drill bits. Oh, and screws of course. 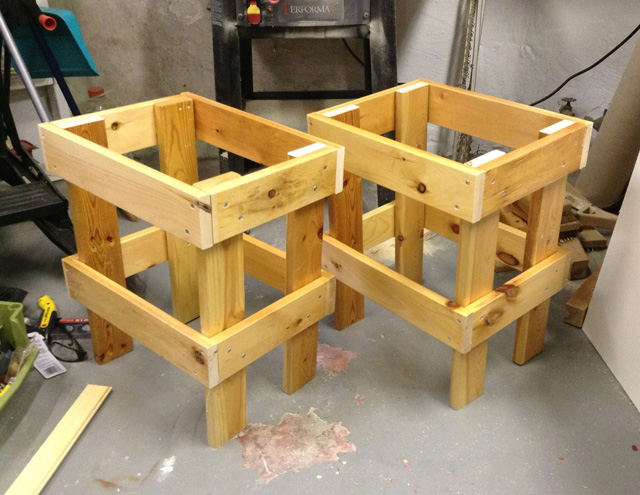 Soon my cutting and measuring started to look like tables, and to my delighted surprise, they didn't even wobble! It was at this stage that I decided I would leave the tables unpainted: I like the rough quality of the pine and the curious dings and holes that show the wood's original purpose. And here's the finished product: sturdy tables with shelves underneath for books and stuff. I'm thrilled with the results. I love the fact that I have some upcycled furniture that's truly functional, that I made myself. Furniture that has served our home continues to serve us in a new way.
7 Comments
Gerrit
3/21/2013 07:22:52 am
Great work Jane; well done!
Ardell
3/21/2013 09:23:26 am
Sweet job Jane. It looks fantastic.
Jennifer
3/26/2013 12:13:27 pm
Beautiful tables Jane, and honestly, I think they are smiling because they are so happy with their new life's purpose. Nice! 4/30/2023 05:43:32 pm
But I thought I'd use the futon wood to try my hand at building something a little more spiffy for our bedsides. And hey, Thank you for taking the time to write a great post! 5/1/2023 01:10:31 pm
For our entire married life, our bedside tables have consisted of whatever we have found around the house that can hold a lamp and an alarm clock. Thank you for sharing your great post! Leave a Reply. |
Jane Hogeterp Koopman

Subscribe to Jane's Blog by RSS or email:
Categories
All
Archives
January 2018
Stuff I love:
|
 RSS Feed
Proudly powered by Weebly