
|
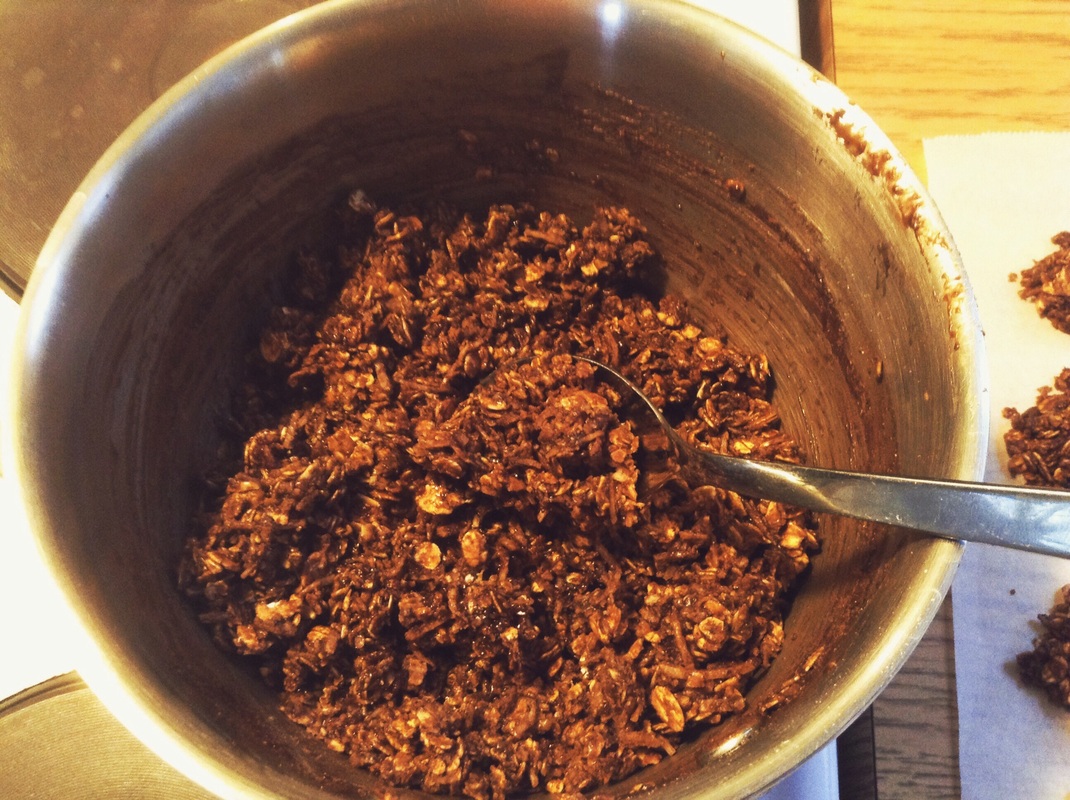
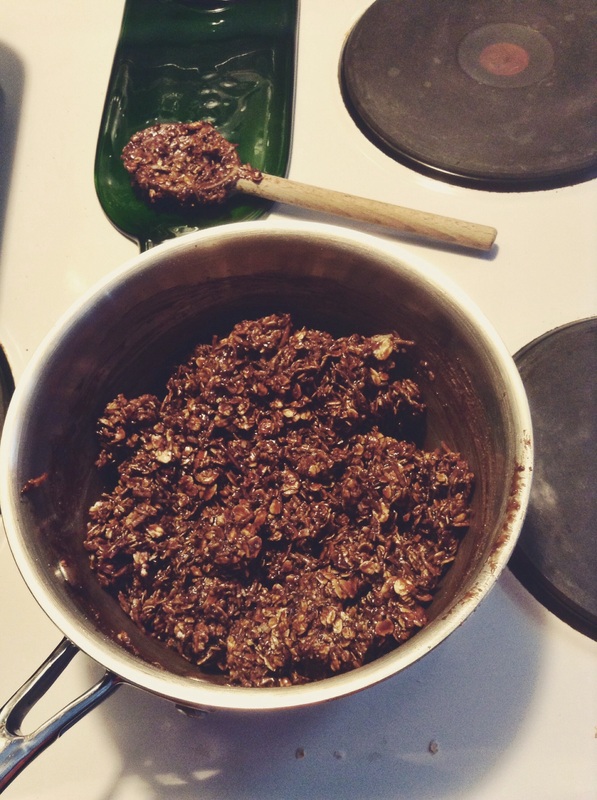
So two days ago, on March 11, I was walking around in the glorious sunshine with my coat off. Then I woke up on March 12 (yesterday) to see this. 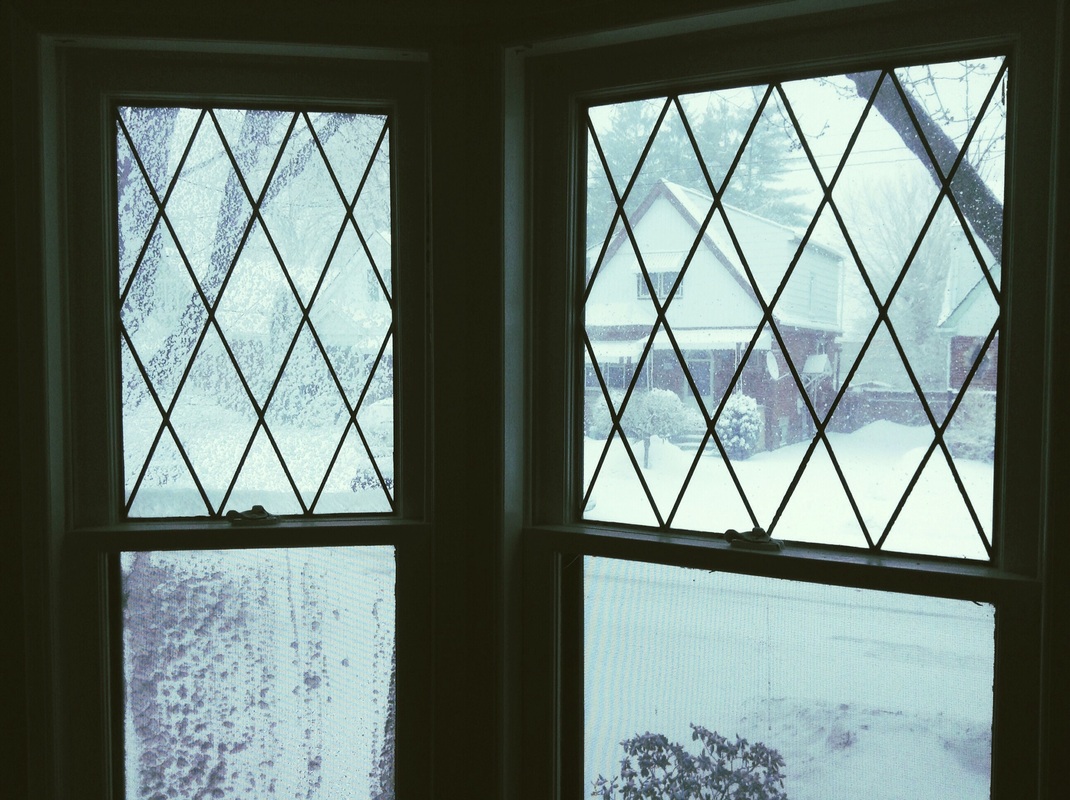 Ew. I love snow, but not really on March 12 anymore. March is when my itch to garden begins, after all. Well anyway, I had planned to do groceries yesterday, but with the treacherous weather (i.e. snow blowing sideways), I decided to burrow inside for the day. Our food supply was low, especially in the snack department, and that just wouldn't do, especially because Dan had to work last night. The man needs snacks to get through a 12-hour night shift. And hey. I always need snacks. Normally, I like to bake to supplement our snack supply, but with my grocery shopping plans spoiled yesterday, I didn't even have the basics for baking. No flour. No milk. Limited butter. 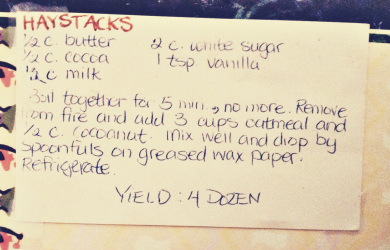 But then I remembered a staple treat from my childhood. Chocolate haystacks: hearty little treats full of chocolate, coconut and oats, and not a stitch of flour. And you don't even have to turn on the oven to make them. It's one of the recipes I wrote out before I left home for university, and I still have it. So yesterday, I dug out my beat-up recipe card and got to work. 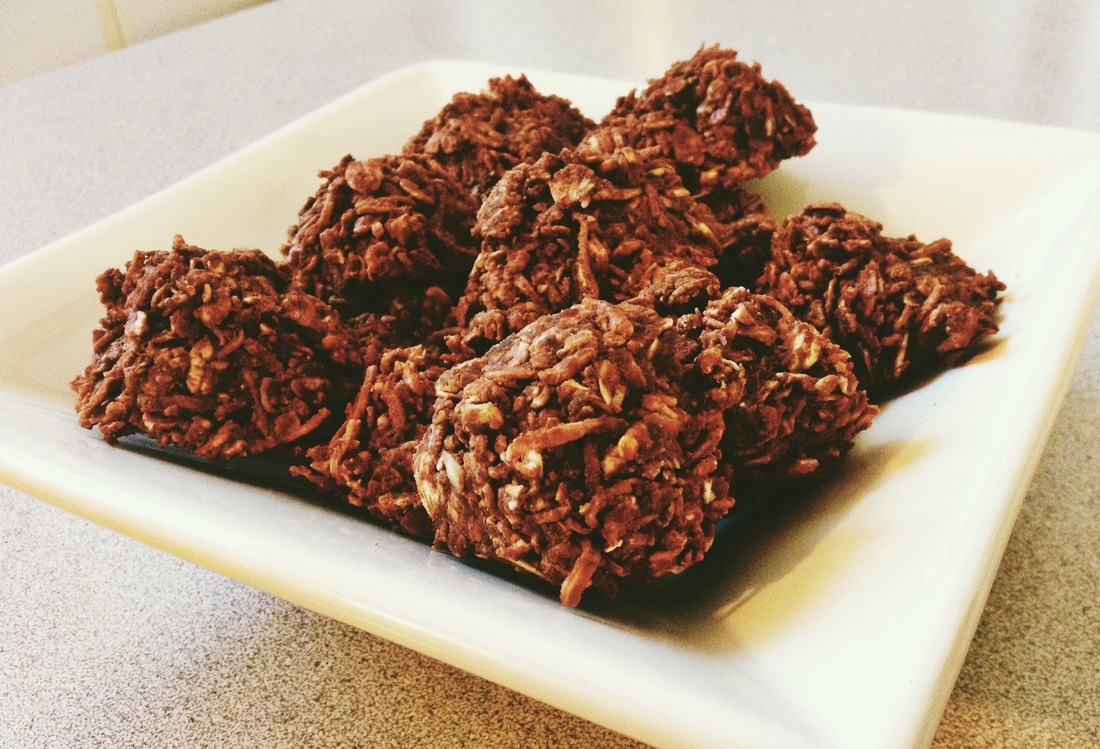 I had everything I needed to make half a recipe, except for milk. So I improvised by using some Bailey's Irish Cream instead. Tee hee. The short version recipe is at the end of this post, but I'll walk you through the super easy steps first. Measure out the first five ingredients - butter, cocoa, milk (or lush-like substitute), sugar and vanilla - and put them into a saucepan. Bring the mix up to a boil, stirring regularly. My old recipe says you should let the mixture boil for five minutes, but it depends on your stove I think. Really, you just need to make sure the sugar is well dissolved (I did three minutes). 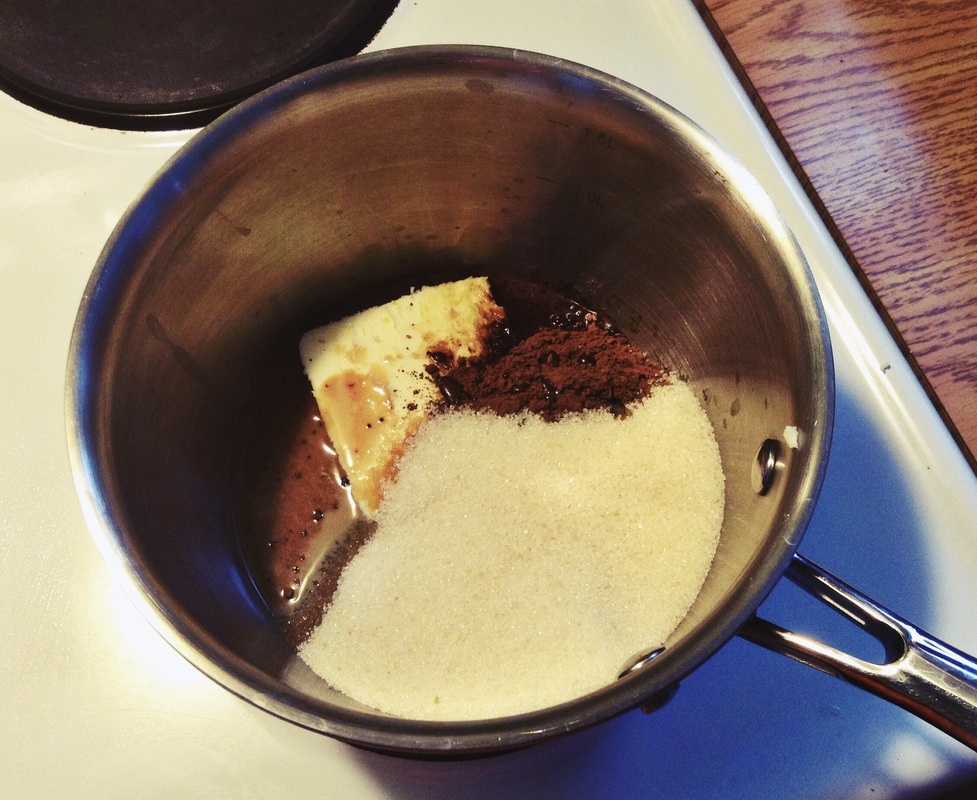 When you have a nice, chocolatey soup, add your oats and coconut. Despite what the recipe suggests, I think the ratio of oats to coconut is really up to you. 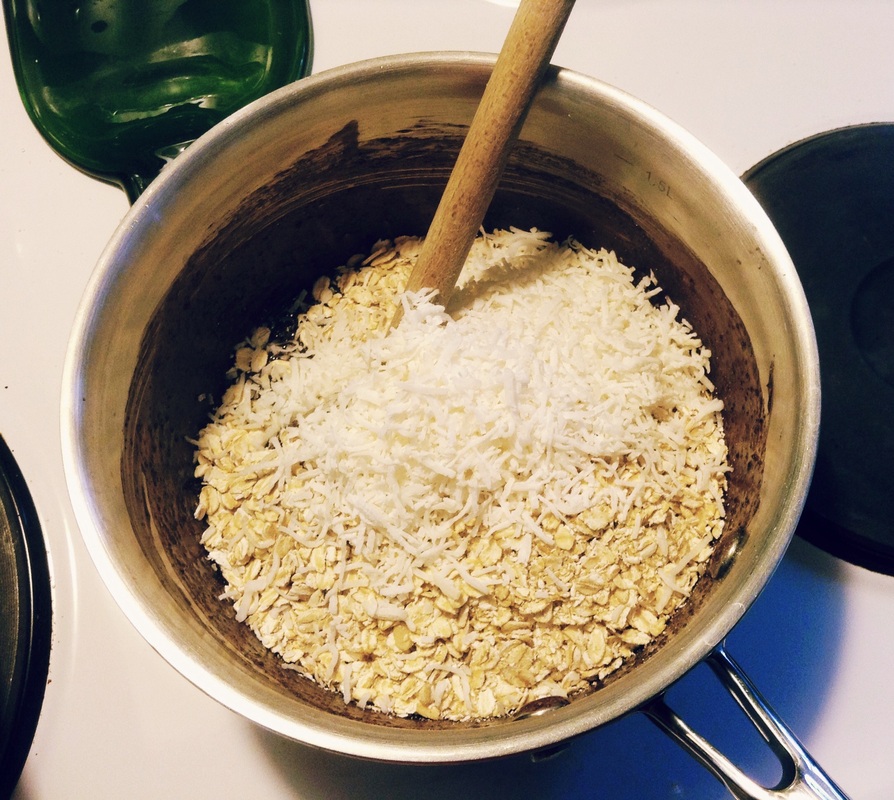
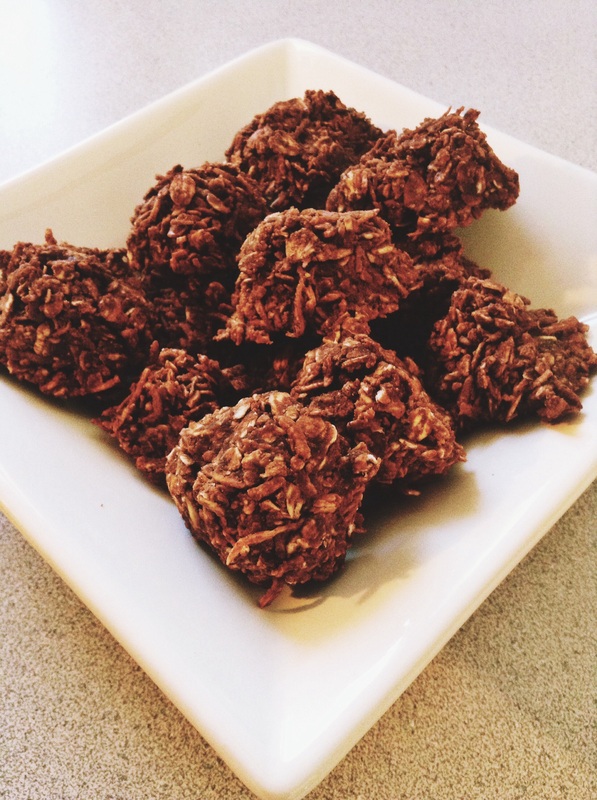
 Et voila! After a while, the haystacks will get solid, and you can take them off the parchment and put them into an airtight container to store. They won't stick together. 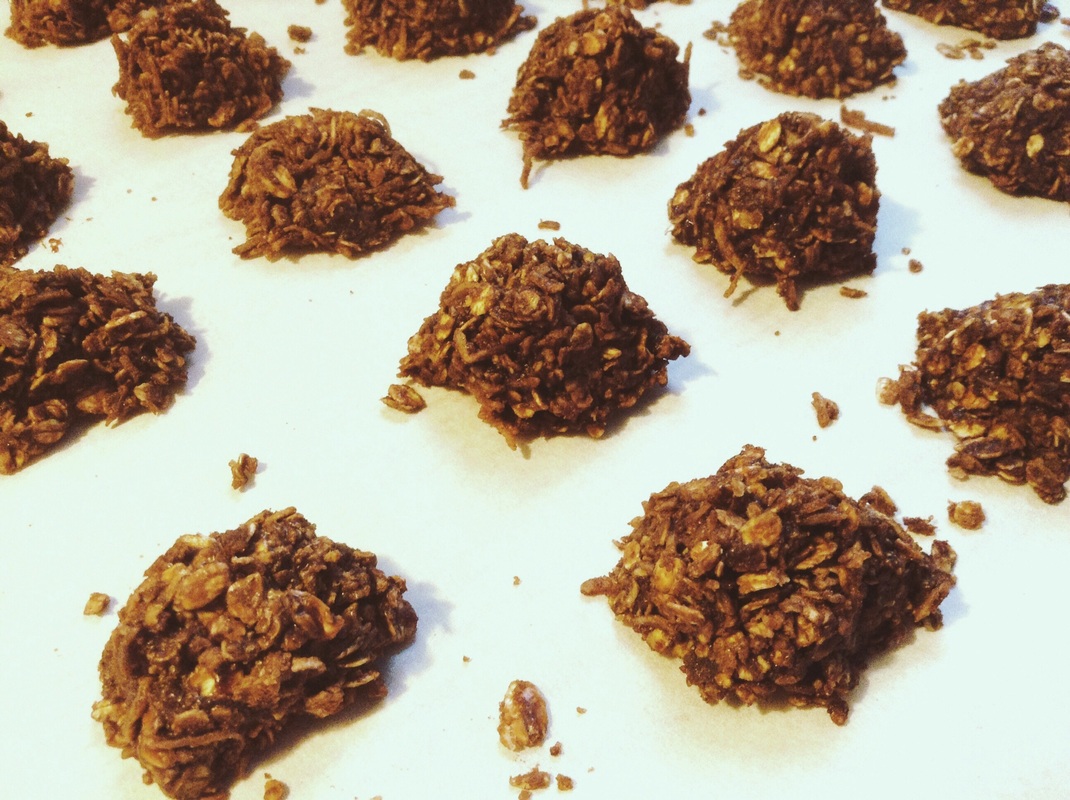 A note about my boozy experiment . . . Adding Bailey's to the haystack mix changed the flavour significantly. The irish cream flavour overpowers the chocolate quite a bit, so it's basically like having a different flavoured haystack. I still prefer straight-up chocolate, but if you're a big irish cream fan, you'd probably go mad for this variation on the standard recipe. You should adjust the sugar though. My suggestion would be to use 1 1/2 cups of sugar instead of 2 (less if you don't like things too sweet). 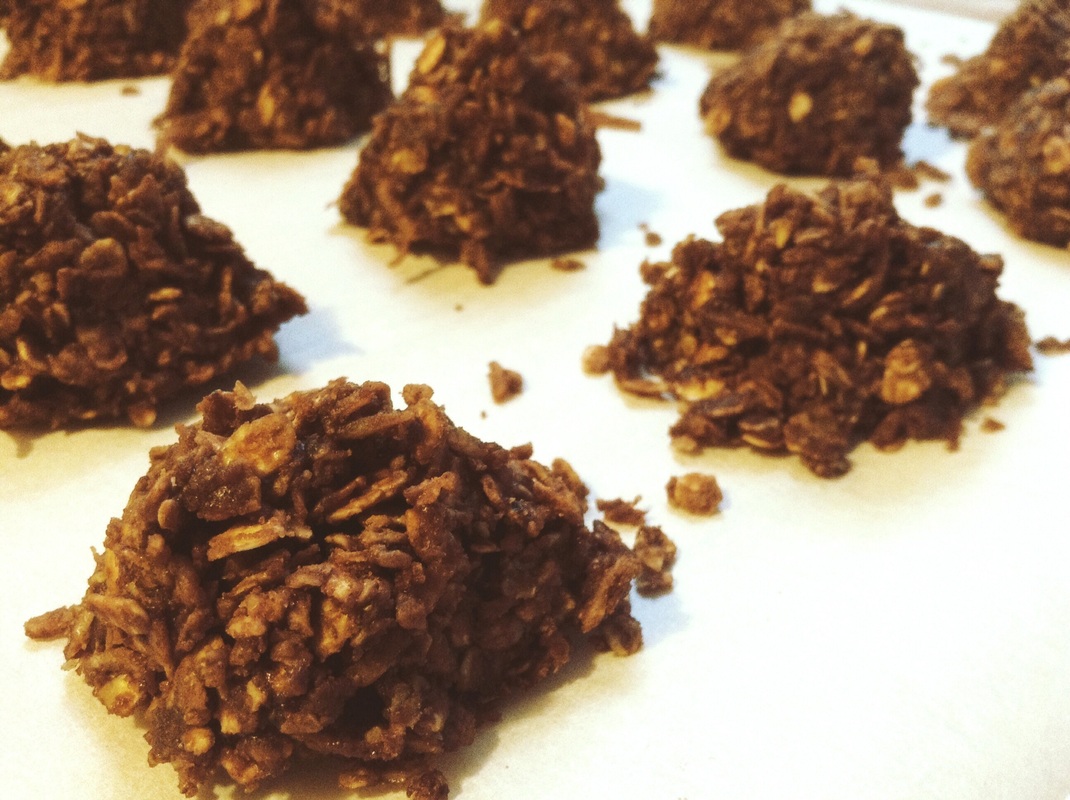 From a kitchen short on resources, these mini piles of chocolate goodness provided some cozy comfort on a blustery and frigid day. Now that I've rediscovered them, I'll probably make them more often. Here's the less long-winded version of the recipe . . .
1 Comment
August and September were very busy with various festivals and shows where I had the opportunity to show and sell my work. I love doing shows, but it leaves little time for much else, so I promised myself that, after the last show in early October, I would take a couple weeks to focus on things outside the studio. One of these things was harvesting and processing the apples from our backyard apple tree. Our First Apple Harvest!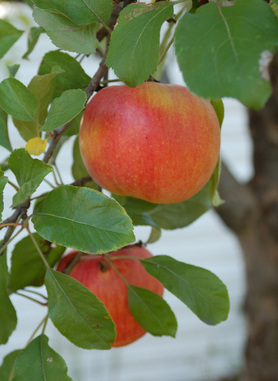 Since Dan and I moved into our house nearly seven years ago, we have been trying to rejuvenate the apple tree and the cherry tree in our backyard. Efforts with the cherry tree have so far been . . . fruitless (bad pun), as the ants and aphids have had the upper hand. The apple tree has fared much better. After some years of pruning in early spring to promote tree growth, and this year, pruning in late spring to promote fruit growth, our tree produced a sizeable crop of apples! We are so excited! We haven't quite figured out what kind of apples they are: so far our best guesses are Spy or Royal Gala. What we do know is that they're delicious. Many of the apples are good enough for eating fresh from the tree. Others, not so much: they're on the ground, partially rotted, or still on the tree after being sampled on by squirrels, worms and birds. As my mother taught me, nothing so good should go to waste, so I decided to make applesauce with the more unglamourous members of our apple crop. Applesauce is a versatile commodity: Dan can take it to work as a snack, I can use it in baking and cooking, and we can eat it with meals. I thought I'd explain the process I used to make applesauce so that you can do the same with fall apples you find at the farmers market or in your own backyard. Saucy!Here's what I used and what you'll need to make applesauce:
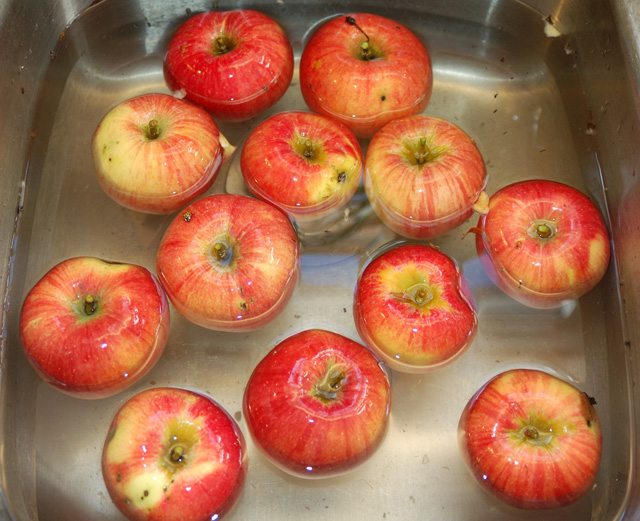
After picking my apples, I dumped them in a sink full of water. (This picture shows about a quarter of what I actually started with.) Then I removed the nasty bits, stems and pits, and cut the apples into quarters. You don't have to be too careful about coring the apples because you'll pass everything through a strainer in the end. Many people leave the pits in, but I didn't because I'm picky like that. 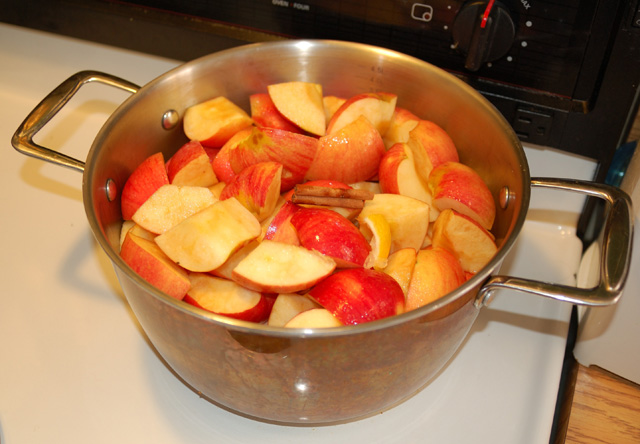
You can fill your pot with apples all the way to the top because they will cook down. I added about an inch of water to the pan, and threw in half a cinnamon stick, a squeeze of lemon juice and a slice of lemon peel. The cinnamon adds a little spice and sweetness, and the lemon juice preserves the colour of the apples and adds a little tang. Next, I put a lid on the apples, brought them to a boil, and then turned down the heat to let them simmer for about 45 minutes (the time will vary depending on your stove and what variety of apples you use). And let me tell you, the house smelled amazing: talk about aromatherapy. 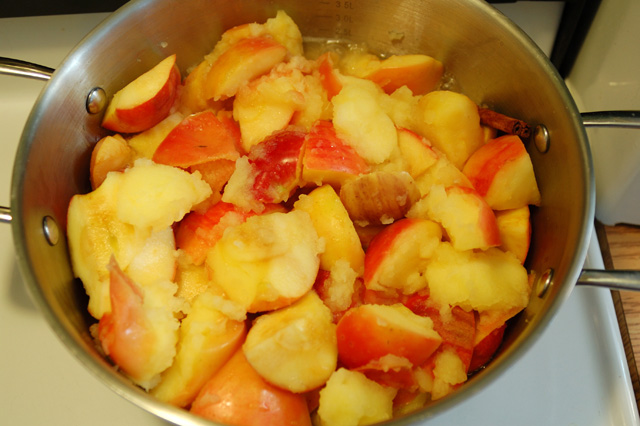
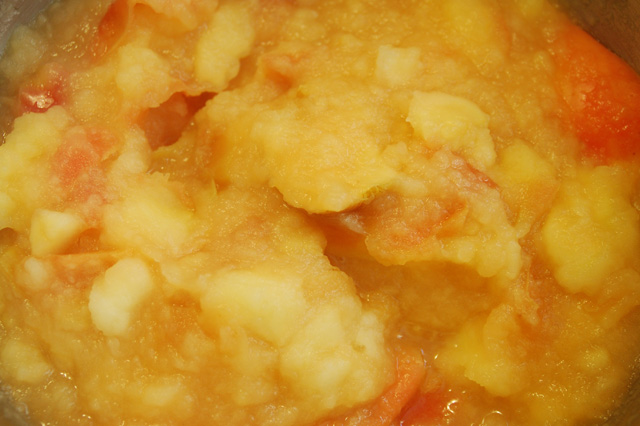
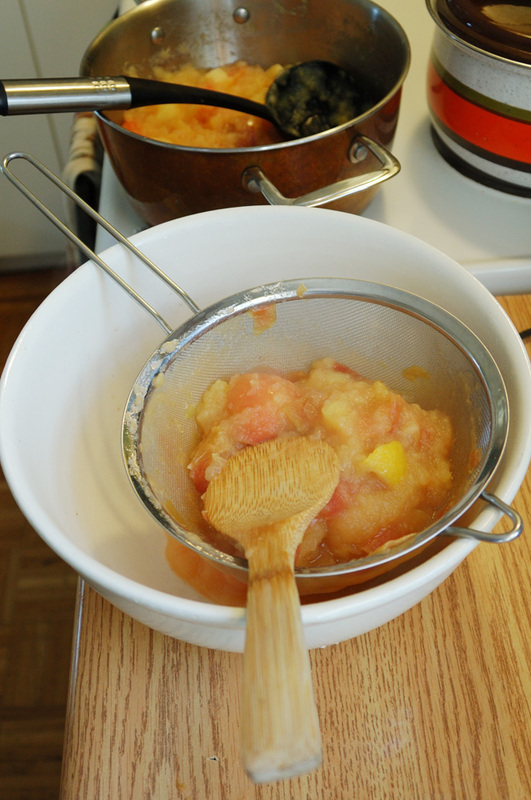
As the apples cook, you'll want to stir them once in a while so all the apples get a chance to soften up. Here are my apples midway through cooking, after a good stir.
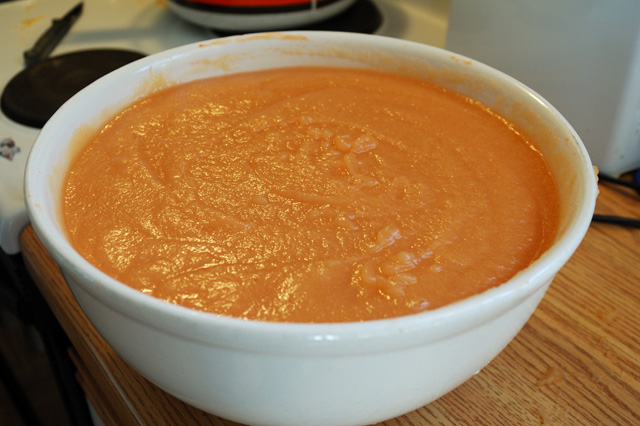
Tada! Beautiful sweet, tangy, pink homemade applesauce. 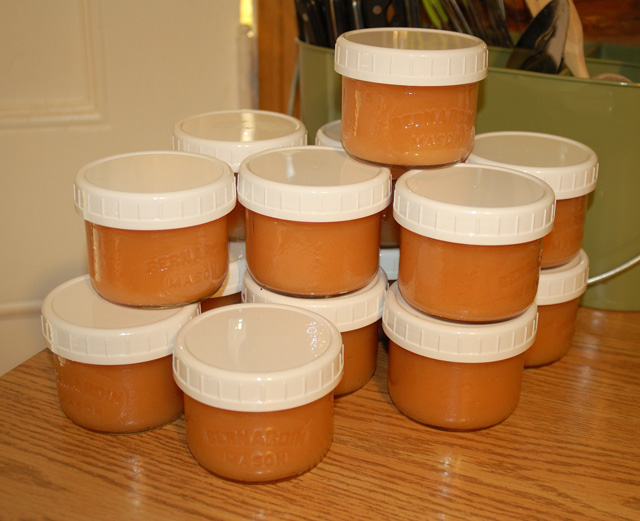
I let the applesauce cool thoroughly and then spooned it into jars. After cooking two pans full of apples, I ended up with 20 cups of applesauce. Not bad. The jars I used to store the sauce have a capacity of one cup: this will make things easier when I need the applesauce for baking, plus one cup is a decent serving size for one or two people. All my applesauce is now in the freezer, ready for its various wonderful uses.
Depending on the apple variety - or combination of varieties - you use to make applesauce, you might want to add sugar before serving it. My backyard apples - whatever they are - are sweet enough to stand on their own. I grew up making applesauce with my family. My parents would get all of us kids around the table to help with all the steps. I never imagined I'd be doing the same thing so many years later. There's something very beautiful about seeing the entire process, from bud to blossom to fruit and all that fruit can provide. 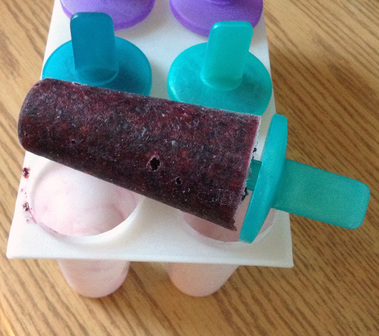 blueberry vodka popsicle . . . mmmmm blueberry vodka popsicle . . . mmmmm A recent garage sale excursion resulted in a nostalgia trip for me when I came across some popsicle molds in mint condition. When I was a kid, homemade popsicles were a summertime staple. For my mom and all my friends' moms, popsicle molds provided a cost effective solution for luring their kids away from the neighbourhood Dickie Dee ice cream bike: just fill up the molds with whatever juice was in the house, and your kids could have a frozen treat on a summer afternoon. I was pretty stoked to find these popsicle molds, and was inspired - on the spot - to revive the summertime staple of my youth. I've been trying to make more of my own snacks lately, in an effort to eat healthier and have more control of what goes into my body. And well, it also saves money, so that's nice too. So the prospect of frozen snacks had me a little giddy. 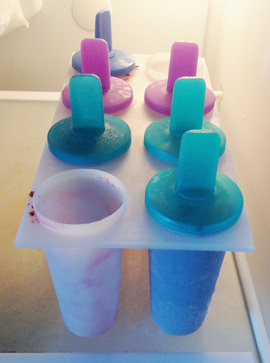 frozen blueberry vodka deliciousness frozen blueberry vodka deliciousness As soon as I got home, I started scouring Pinterest and was amazed to find hundreds of wonderful ideas and recipes for homemade popsicles. And they're miles beyond the OJ and Kool-Aid popsicles of yesteryear. There are all sorts of concoctions with fresh fruit, yogourt, pudding, ice cream, and alcohol.
I thought I'd start with alcohol. And not necessarily because I'm a lush. Of course, the concept of a frozen cocktail is extremely appealing, but the best thing about putting alcohol in a popsicle is that alcohol improves the consistency of the popsicle. Alcohol has a lower freezing point than water, so a popsicle made with alcohol is much easier to eat because it's not a solid block of ice. Of course, it also tastes amazing. My first "poptail" attempt was these Blueberry Vodka Popsicles because they seemed super easy, with only four ingredients: blueberries, simple syrup (sugar and water), lemon juice and vodka. They were very easy to make, and even easier to eat . . . yum! This recipe will fill two eight-popsicle molds like mine, as pictured. The recipe calls for fresh blueberries, but I used frozen blueberries, and that worked well. As you can see from the photo, my husband and I have already dug in, and I'm sure the popsicle mold will be ready for refill in no time. If you want to look for popsicle recipes with alcohol, you can search a number of terms: "poptails", "spiked popsicles" or "alcohol popsicles" will bring lots of results: everything from mojitos to margaritas to mudslides can be found in popsicle form! 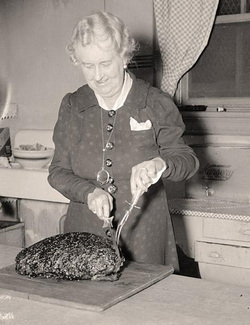 Mrs. Bristol Cuts Ham (from old-photo.com) Before grocery superstores were a quick drive away and take-out was a quick phone call away, people had to carefully plan their eating. Cost and versatility were important considerations. People had to work with what was available from their local grocer, butcher and baker.
I've been thinking a lot about this lately. Approaching eating in this way forces you to slow down. First of all, you must take time to plan: determine what and how much you can make with what's available. You need to carve out a pretty good chunk of time to shop. And then of course you need time to prepare the food. Preparing and eating food this way seems so much healthier: it involves less rushing around, gives you a deeper appreciation for your ingredients and the people who've prepared them, and is more cost effective. So in my own life, I've been trying to go more old school with managing the household food supply. It's less complicated for me because my household is small: just my husband and me. Since I've been planning a bit more carefully, we have both noticed a positive difference in our culinary lifestyle. We eat waaaay better, for less money, and spend more time eating together. One thing I'm learning is how to use meat more resourcefully. Instead of buying small packages of meat, I've tried buying larger cuts and using them in multiple ways. One of my favourites - especially for winter - is a hefty bone-in ham. I usually buy a half, weighing between 7 and 10 lbs. (I'm guessing), and I can get about five meals out of it. I start with this awesome recipe: Old-Fashioned Ham with Brown Sugar and Mustard Glaze. After smelling it cook all afternoon, we'll have some for dinner, and then I have tons left over. I put some in the fridge for the next few days for lunches and meals, and some goes in the freezer. Here are some of the things I've done with the leftovers:
Give it a try yourself and have a ham. |
Jane Hogeterp Koopman

Subscribe to Jane's Blog by RSS or email:
Categories
All
Archives
January 2018
Stuff I love:
|
 RSS Feed
Proudly powered by Weebly